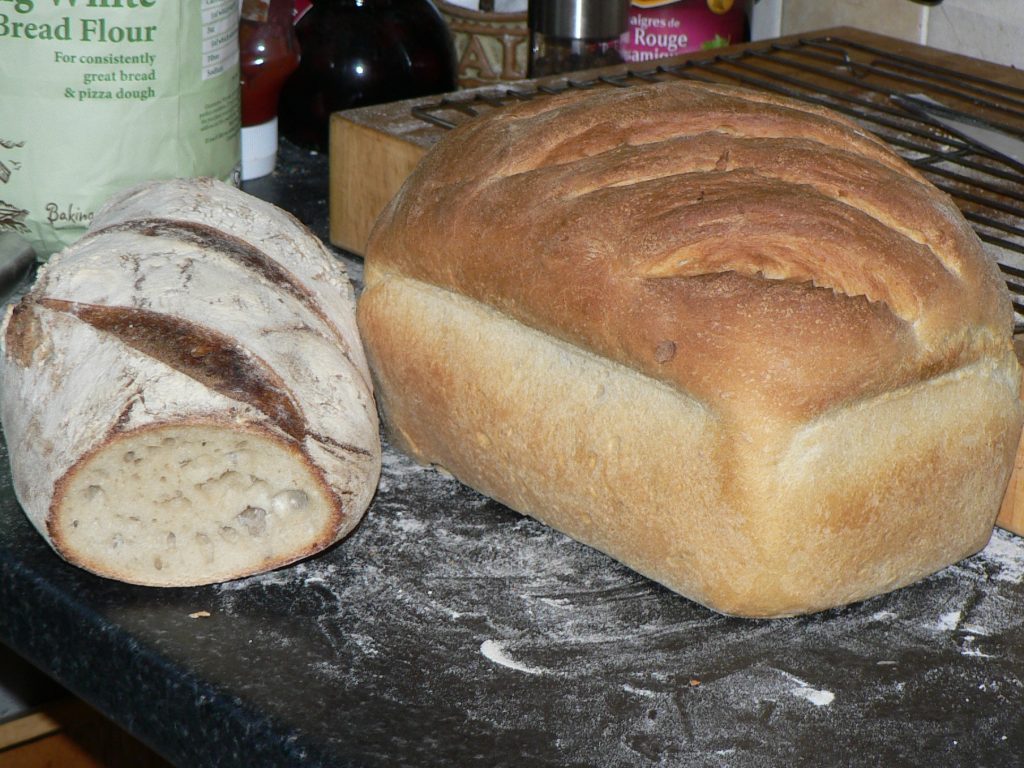

My recipe for soft bread rolls became a bit of a cause-célèbre back in the days when the sausagemaking.org forum was more active. I’m quite proud of it. But, I never thought it was that good for burgers – it fell apart too easily. I toyed with the idea of using a pretzel roll or even a pseudo-brioche, one that’s a lot less sweet – using butter instead of oil in my soft bread roll for example. However, I’ve settled on a roll made with potatoes, and not only potatoes but instant potato flakes. The idea for these buns comes from a post on the sausage forum that referred to a recipe on the cookistry website. My recipe is a slight adaption of that one using information learned from their site.
It’s great for burgers, pulled pork and things of that nature. My original soft roll is still best for a cheese and onion roll though!
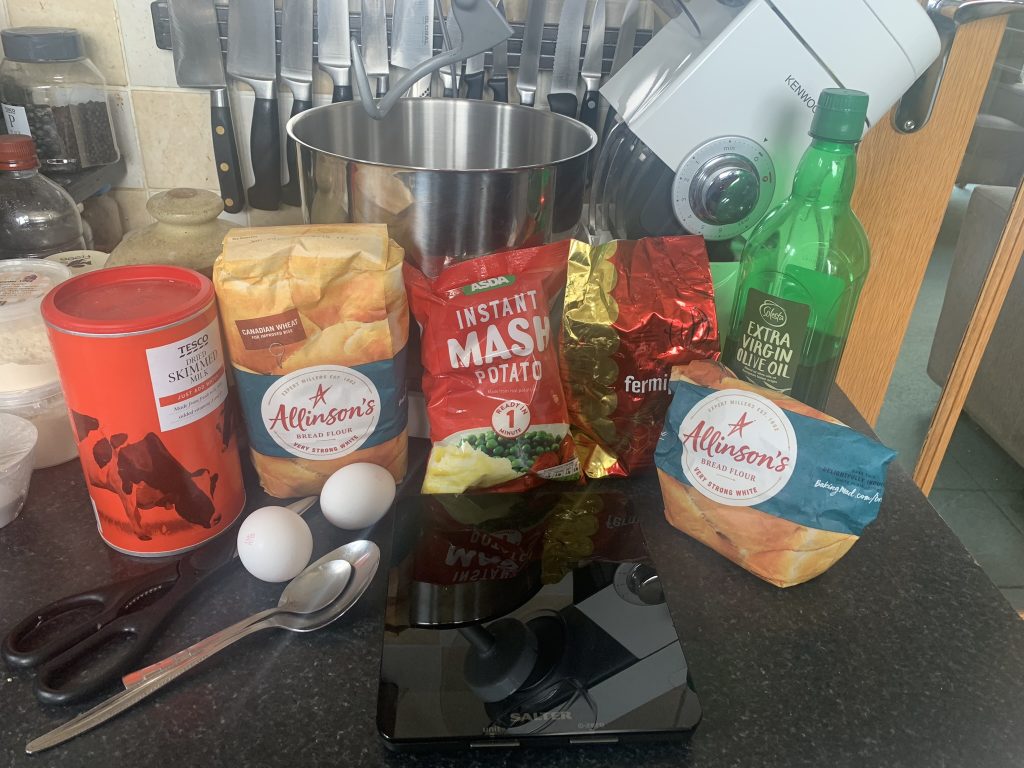
Ingredients for 18 large burger rolls
Strong white bread flour 900gm
Instant potato flakes 60gm
Luke warm water (38 – 43°C) 700gm
Instant Yeast 20gm
Salt 15gm
Egg yolks 2
Olive Oil 45gm
White Sugar 10gm
Non-Fat Dried Milk 20gm
I use ASDA’s potato flakes as they seem to have less additives than many others.
Method:
In a large bowl (The one from the mixer if you are using one) mix the flour with the salt and then add the yeast and mix again.
In another bowl, put the potato flakes, sugar and milk powder, then whisk in the water, egg and oil.
Mix the liquid with the dry ingredients and then mix/knead for 8-10 minutes.
Form the dough into a ball using as little extra flour as possible. Rub it with oil and leave it to rise in a bowl covered with a damp cloth or cling-film. It’ll want about 1 – 1½ hours until it’s doubled in size.
Divide it into 18 rolls – they’ll be about 100gm each.
Shape the rolls by turning the dough under itself as if tightening the top until it’s a smooth-topped ball, then flatten the ball – really flatten it well and push the ball of your thumb into the middle of it to create a dip (This helps keep a flattish top to the bun). The rolls should be about 4 inches in diameter at this stage.
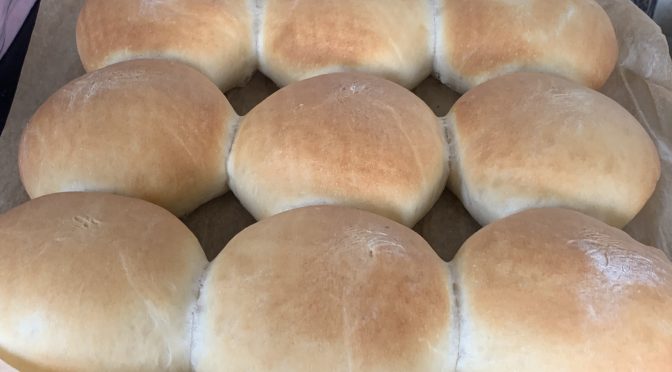
Put nine rolls on a standard baking sheet (approx 12″ x 13″ (300 x 325mm)). Either flour the tray or use baking paper – you can also use semolina for a different finish. Add any toppings of choice using eggwash to stick them on.
Cover again and leave to prove until doubled in size – they’ll take careful handling now as they’ll probably be hanging off the edge of the tray. Cook at 175C (fan oven) until cooked – 20 mins or so.
Use your senses to tell whether they’re cooked but if in doubt check that the internal temperature is above 95C.