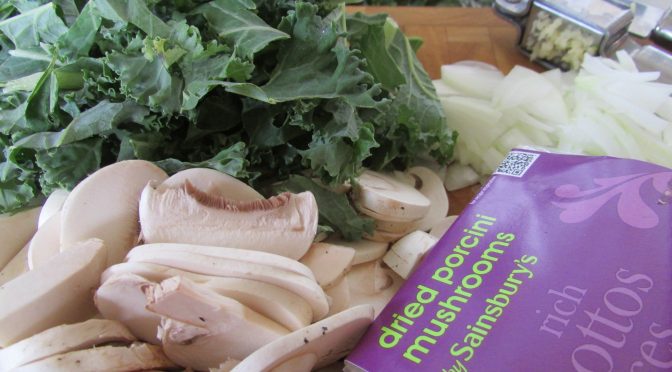
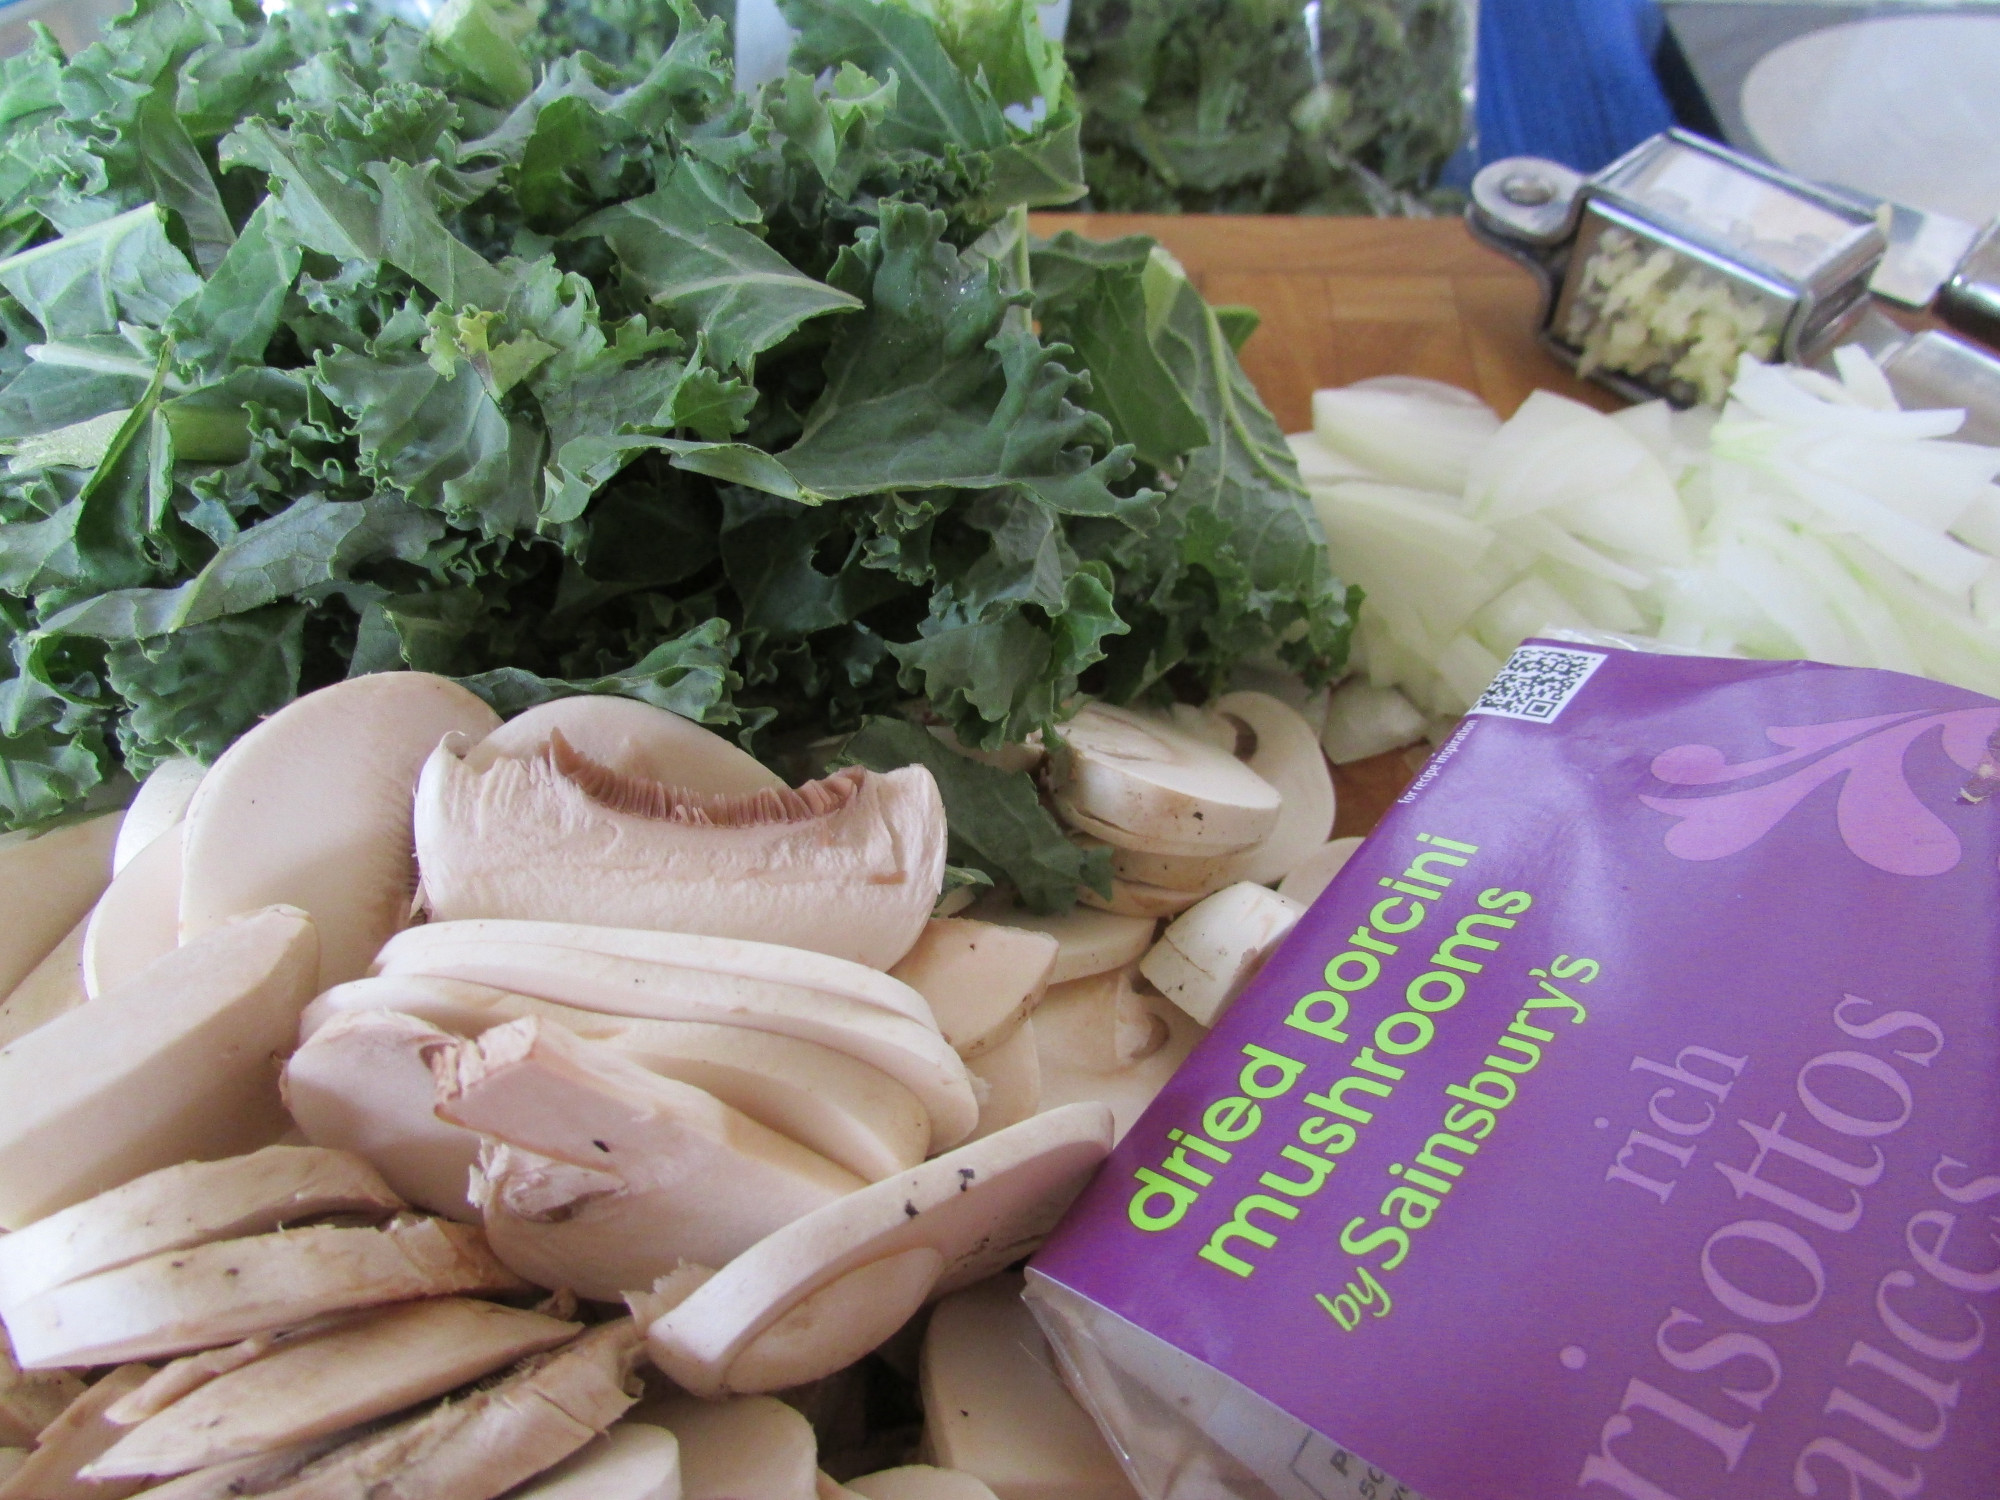
I’ve never been really happy with using water instead of stock for vegetarian soup but vegetable stock powder invariably gives a celery flavour to the whole soup and to be honest, even when I’ve made vegetable stock I’ve never been really happy with it.
However, I think that I’ve found the answer, at least for mushroom soups. Dried Porcini absolutely transforms them. I’d never bothered with it until now because of the price. But recently I’ve been looking for things that help to lower my calorie intake and have been surprised, it’s not always the lower-calorie items that are best. For example, you get far more ‘bang for your buck’ from high-calorie Stilton than a reduced calorie cheese. Just try it, tiny pieces of stilton will add flavour whereas you’d need double the amount of a lower-calorie product. Well, when I was thinking along these lines, I also realised that the same applies to using very small amounts of expensive items and there’s no doubt that Porcini is expensive: £60 – £80 per kilo but if you only use 10gm it’s only 60p or about 10p per bowl.
Once in a while, you come across an ingredient that is so superb that you have to write about it. Sheffield’s Secret Weapon, Henderson’s Relish is one of those. How it managed to slip my attention when I spent 9 months of 1975 in Sheffield’s Lodgemoor Hospital, I just don’t know. It’s superb and well worth seeking out.
At first glance and taste, you’ll probably think that it’s a copy of Lea and Perrins famous Worcestershire sauce but you’ll soon realise that it’s subtlety different – not so harsh and aggressive a taste. Whereas Worcestershire sauce can dominate, Hendo’s compliments.
Henderson’s relish is also suitable for vegetarians and vegans.
As to its manufacture? Is it made in a factory on Parkway Rise, Sheffield, or does it drip from seams in the local coal mines as suggested by my Yorkshire mate Maurice. Now, I like to think that it comes from a secret well situated under the old Lodgemoor Hospital clock tower and that’s why the clock tower was left standing when the hospital was demolished!
In any case, it’s available from numerous shops in the Sheffield and North Derbyshire area and online from Morrisons and other online suppliers.
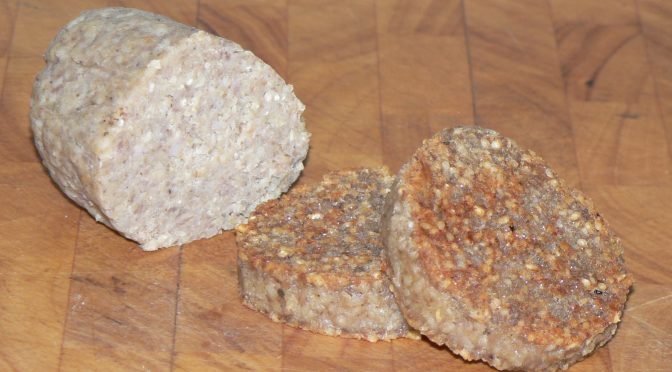
Some time back I posted about my trials of an Irish White Pudding recipe that I developed in collaboration with my forum mate John.
Now, I have to admit, I can take or leave these Irish delicacies but I believe that this recipe is as close to the commercial ones, as we can get. That is, the ones that I was sent which are made by Breeo Foods of Dublin and sold under the ‘Shaws’ brand name. They’re the ones on the left in this picture:
The final recipe stood up to the ‘John’s mother-in-law’ test and passed with flying colours.
Followers of this blog will maybe know of my embarrassment at being ‘famous’ for a recipe that is a clone (albeit superb) of a supermarket soft-bap. They’ll also know that I’ve had difficulty in coming up with a sourdough recipe that fits in with my lifestyle.
I’ve always felt that I’d make better sourdough bread if I had the ‘proper kit’ for proving it: a couche (proving cloth) or some bannetons (linen-lined wicker baskets), preferably the latter. Now the problem with this is that bannetons ain’t not cheap! Nice cane or wicker ones are anything between £12 and £45. Then low and behold, I don’t often get lucky but I was in a local trade wholesalers just before Christmas and they’d got 4 lined wicker display baskets for about a fiver! Just the job – identical in all but name. Having acquired the kit and then making a sourdough starter for a mate, when I watched last week’s “Fabulous Baker Boys” TV show and they made a sourdough loaf, I thought I’d better bite the bullet and have another go.
I decided to use the recipe featured on the TV programme (Fabulous Baker Boys, Channel 4, episode 4) but had major problems with the dough; theirs was a very wet dough, mine made to the same recipe was so dry that it wouldn’t come together. I ended up adding an extra 75ml of water and it was still on the dry side as sourdoughs go. I’ve asked a fellow blogger more used to these types of bread to have a look at it but I’m naturally loathe to say that the recipe’s wrong given that ‘Fabulous Baker Boy’ Tom Herbert has won ‘Baker Of the Year’ and his sourdough has won ‘Organic Loaf of the Year’ 9 times in the last 10 years! You’ll have to try it and see what you think! I’ll give my adaption of the recipe with a note of the changes.
White Sourdough Bread
300ml Sourdough starter 500gm Strong bread flour 275ml Water (200ml in original) 10gm Salt (a pinch in original)
A note about the salt: Tom’s ‘pinch’ of salt on the TV show was about the same as the 10gm that I’ve used. I based mine on the normal ratios of salt used in this type of bread.
I added all the other ingredients to the flour and then mixed it well in the Kenwood Chef and subsequently by hand. I left it to rise for a couple of hours and then shaped it, floured it all over, and put it into a basket lined with a flour-covered linen. The baker brothers then leave this to rise for 8 – 12 hours. I put mine into the fridge for about 16 hours and then gave it a couple or three hours to come back to temperature the next day. The loaf was then tipped gently onto a baking stone preheated in an oven at 240°C, the top was slashed, and it was baked for about 30 minutes, then cooled.
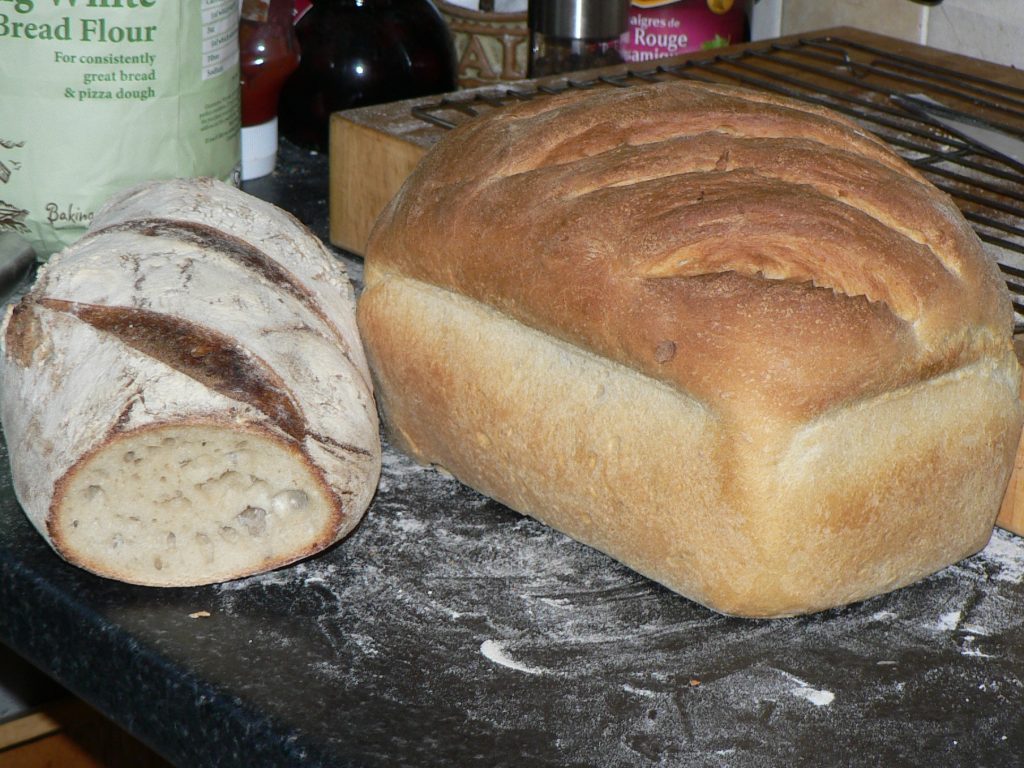
It has the classic thick crisp sourdough crust that demands better teeth than mine and an open textured crumb. It has a well-developed taste without being at all sour. All in all quite a pleasing result.
…and how did I know it would all work out so well? I didn’t, that’s why I baked one of my everyday loaves, just to be on the safe side!
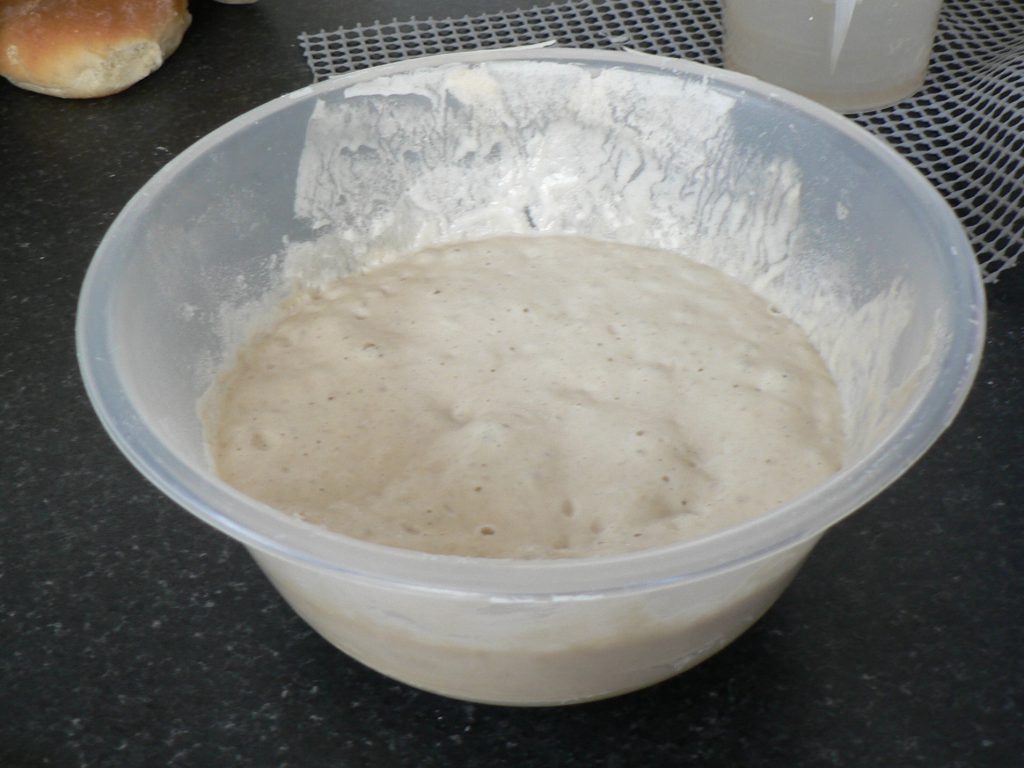
The fascination of making bread with just flour, water and salt, no yeast, is intriguing.
The secret of success is a good starter. Now, undoubtedly the easiest way of doing this is if someone gifts you some of their established starter but in the absence of such a benefactor you’ll need to make one yourself.
The easiest way of doing this is to mix 50 gm of bread flour and 50gm of water in a preserving jar (holding the lid down loosely with an elastic band rather than the catch) or a bowl with a plate on top – something that will keep things clean but allow airborne yeasts to colonise the flour and water mix. After a day add a further 50 gm flour and 50 gm water. You now have 200gm of flour/water mix. The next day and on subsequent days throw half of it (100gm) away and top it up with 50gm flour and 50gm water.
In a few days, you should notice air bubbles forming and after 4 – 7 days there should be significant bubbling within a couple of hours or so of adding the fresh flour and water.
The starter may smell beery. It may also look split – just mix it together it’ll be OK. In the event of it really smelling not nice – just throw it away and start again.
If you are not going to be making bread every day or couple of days you can store the starter in the fridge and just top it up weekly.
This is classed a 100% hydration starter: that is the water weighs 100% of the weight of the flour. This method of calculating recipes is known as baker’s percentages. They differ from normal percentages in that all ingredients are expressed as a percentage of the flour rather than the total amount of dough.
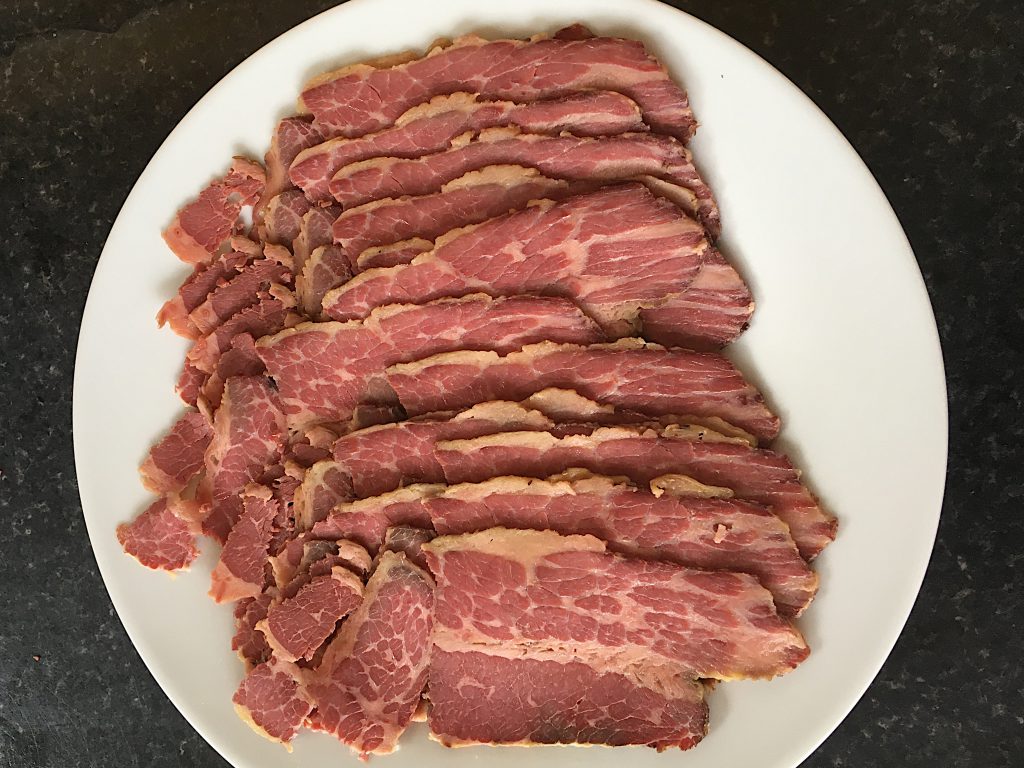
I decided to follow my friend Paul’s instructions for cooking the corned beef. He said to braise it slowly in chicken stock; I hadn’t any defrosted and so used water with the meat sat on a sliced onion.
It was only 8 years ago that I wrote a post forecasting that barbecue would be the next big food craze to hit the UK. Amazingly, not only was I correct but the craze seems to have now filtered down resulting in a massive interest in all things barbeque on social media. TV chefs feature US-style barbecue in their programmes and pulled pork and brisket feature on both pub and home BBQers menus. Back then, I wrote:
Wasn’t it George Bernard Shaw that said: “England and America are two countries divided by a common language”? Barbecue, abbreviated to BBQ, really goes to prove this.
What we know as Barbecue or bbq is generally referred to as grill or grillin’ in the US. Their BBQ is a method of cooking meats for a long time at low temperatures. It often includes smoking the meat for part of the cooking time. Times of 10 or 20 hours are not unusual in this type of cooking.
BBQ guys take their hobby seriously and hold competitions where the prize-money can be 1000’s of dollars. Although on the face of it the same as hot smoking, the temperatures are usually higher.
I can see this type of cooking being ‘the next big thing’ in the UK. We’ve already seen slow-cooked meats increasing in popularity with slow-cooked pork belly featuring on virtually every menu you see nowadays! Pulled pork, a classic BBQ standard, is featuring more and more in blogs and among the celebrity chef circuit. We’ve also seen a move towards better quality in burger joints and vans and an increase in general in the quality of street-food. This, accompanied by a number of TV programmes featuring US BBQ joints, such as Diners, Drive-Ins, and Dives, makes me think that this’ll be the next culinary craze… …Oh, and also look out for the currently trendy use of brioche buns to be upstaged by buns cooked like pretzels.
I’m sure that this will also feed through to the home market – old and new suppliers will hurry to jump on the BBQ bandwagon. There’ll be terms and equipment that we’re not (yet) used to in the UK: Offset Smokers, Water Smokers, Oven (or box) Smokersand even Ugly Drum Smokers.
I’ll write further about the options currently available in UK for both smoking, grilling and BBQ shortly.
I did write another post that explained the differences between the types of smoking and barbecue and the available equipment at that time. The post has been reposted here.
Wow, how things have moved on. There’s equipment available now that we could only dream of then – unless you could make it yourself or had very deep pockets that is.
It can still be an expensive game but it doesn’t have to be. There’s far more equipment available across a range of prices and also more advice and support is available for people building their own equipment – not least because of social media groups on Facebook and the like.
It’s great that so many more people are now cooking quality meals using barbecues. Yes, there are many who have just replaced a plate full of cheap meat products with a plate full of expensive meat products and yes, there’s still an element of the UK equivalent of ‘redneck’ in attitudes to non-meat-eaters on some online groups. But, there are also more and more people using barbecues, in whatever form, to cook balanced meals whether meat or vegetable-based.
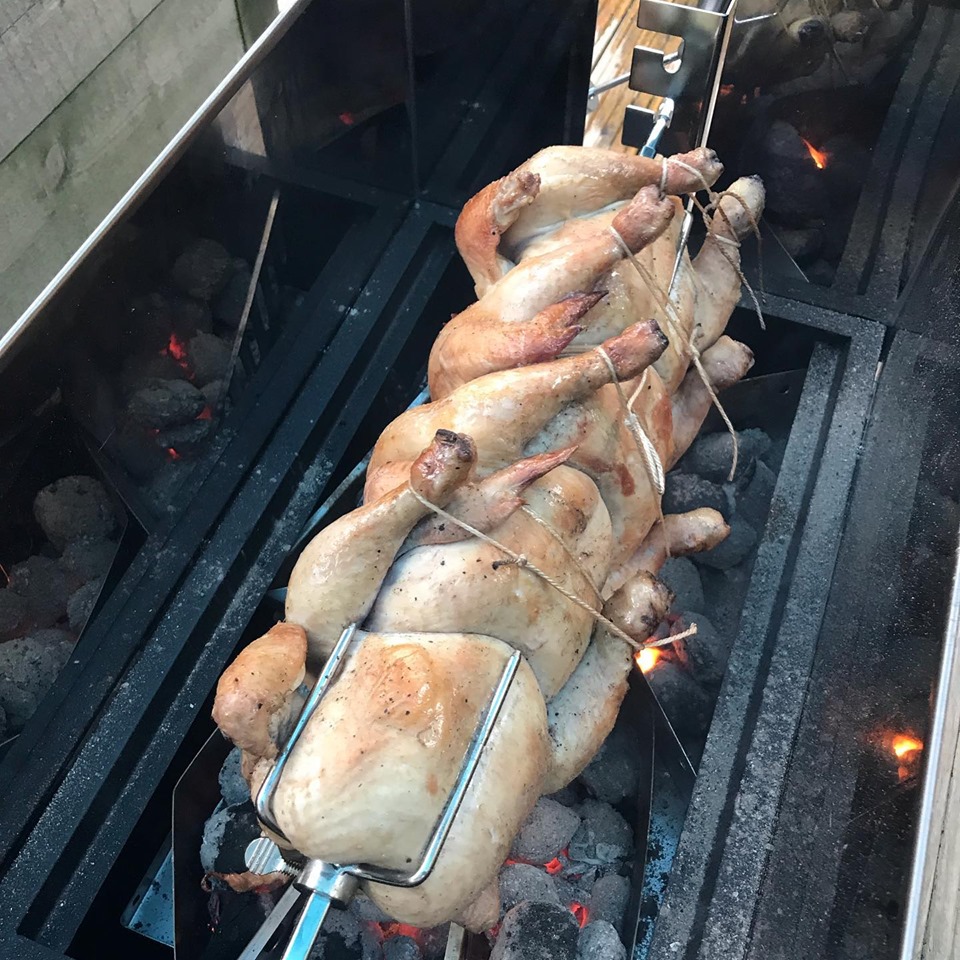
I have to say that although I’ve had a smoker that could produce barbecued food for years, it’s only in the past couple or three years that I’ve cooked more barbeque and grilled food – since I bought a covered BBQ grill (Weber) and my nephew built me an Ugly Drum Smoker. I hope to write more of these in future posts. I’m by no means an expert but hopefully have a head start as I know a good number of people who are, including a very good friend from North Carolina who is my go-to for advice on traditional US-style barbecue.
I hope to post some traditional recipes, along with some alternative ideas over the next few months.
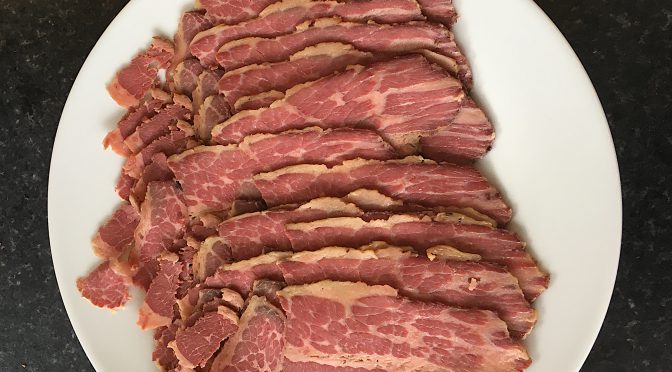
The dry-cured beef that was put to cure on 29th August has now been curing for 20 days. How did I calculate the cure time? Well, it depends somewhat on the type of cure. Older cures tended to use lots of salt and then cure for a number of days per inch of meat. You still see people advising this online. However, that doesn’t apply in this case as the cure was formulated so that however long it’s left there can only be 2.5% salt in the meat. That’s about the same level as in mild bacon. I’ll braise the meat in liquid which will reduce this level further.
More important is that I chose to cure it for 20 days to give plenty of time for the saltpetre to work. Unlike the sodium nitrite in Cure #1, saltpetre (potassium nitrate) has to react with bacteria in the meat to lose an oxygen molecule and become potassium nitrite. It’s that nitrite that gives the meat protection and its colour.
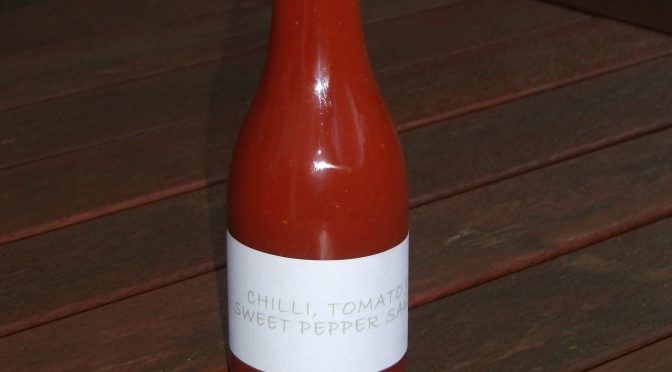
As long ago as 2007 I wrote about a chilli dipping sauce. I still use that recipe; it’s so quick to make.
This one is a proper sauce – as in not a thin dipping sauce. I’ve added red pepper to it as not everybody likes a sauce that grabs you by the throat. Feel free to reduce the red pepper and increase the chilli or add a couple of scotch bonnets.
1 dessertspoon Cornflour (Cornstarch) a little water Salt to taste ¼ teaspoon is a good starting point
Weigh the sugar and set it aside. Then weigh the water and apple cider vinegar and place them into a pan with everything but the sugar, cornflour and salt. Cook the mixture in the pan until the pepper and chilli are nearly soft. Add the sugar and bring it back to a boil. Mix a little water into the cornflour to make a loose paste. Add it to the pan whilst stirring – thicken it to the consistency you like – you may not need it all. Let it cool a bit and then taste and season it.
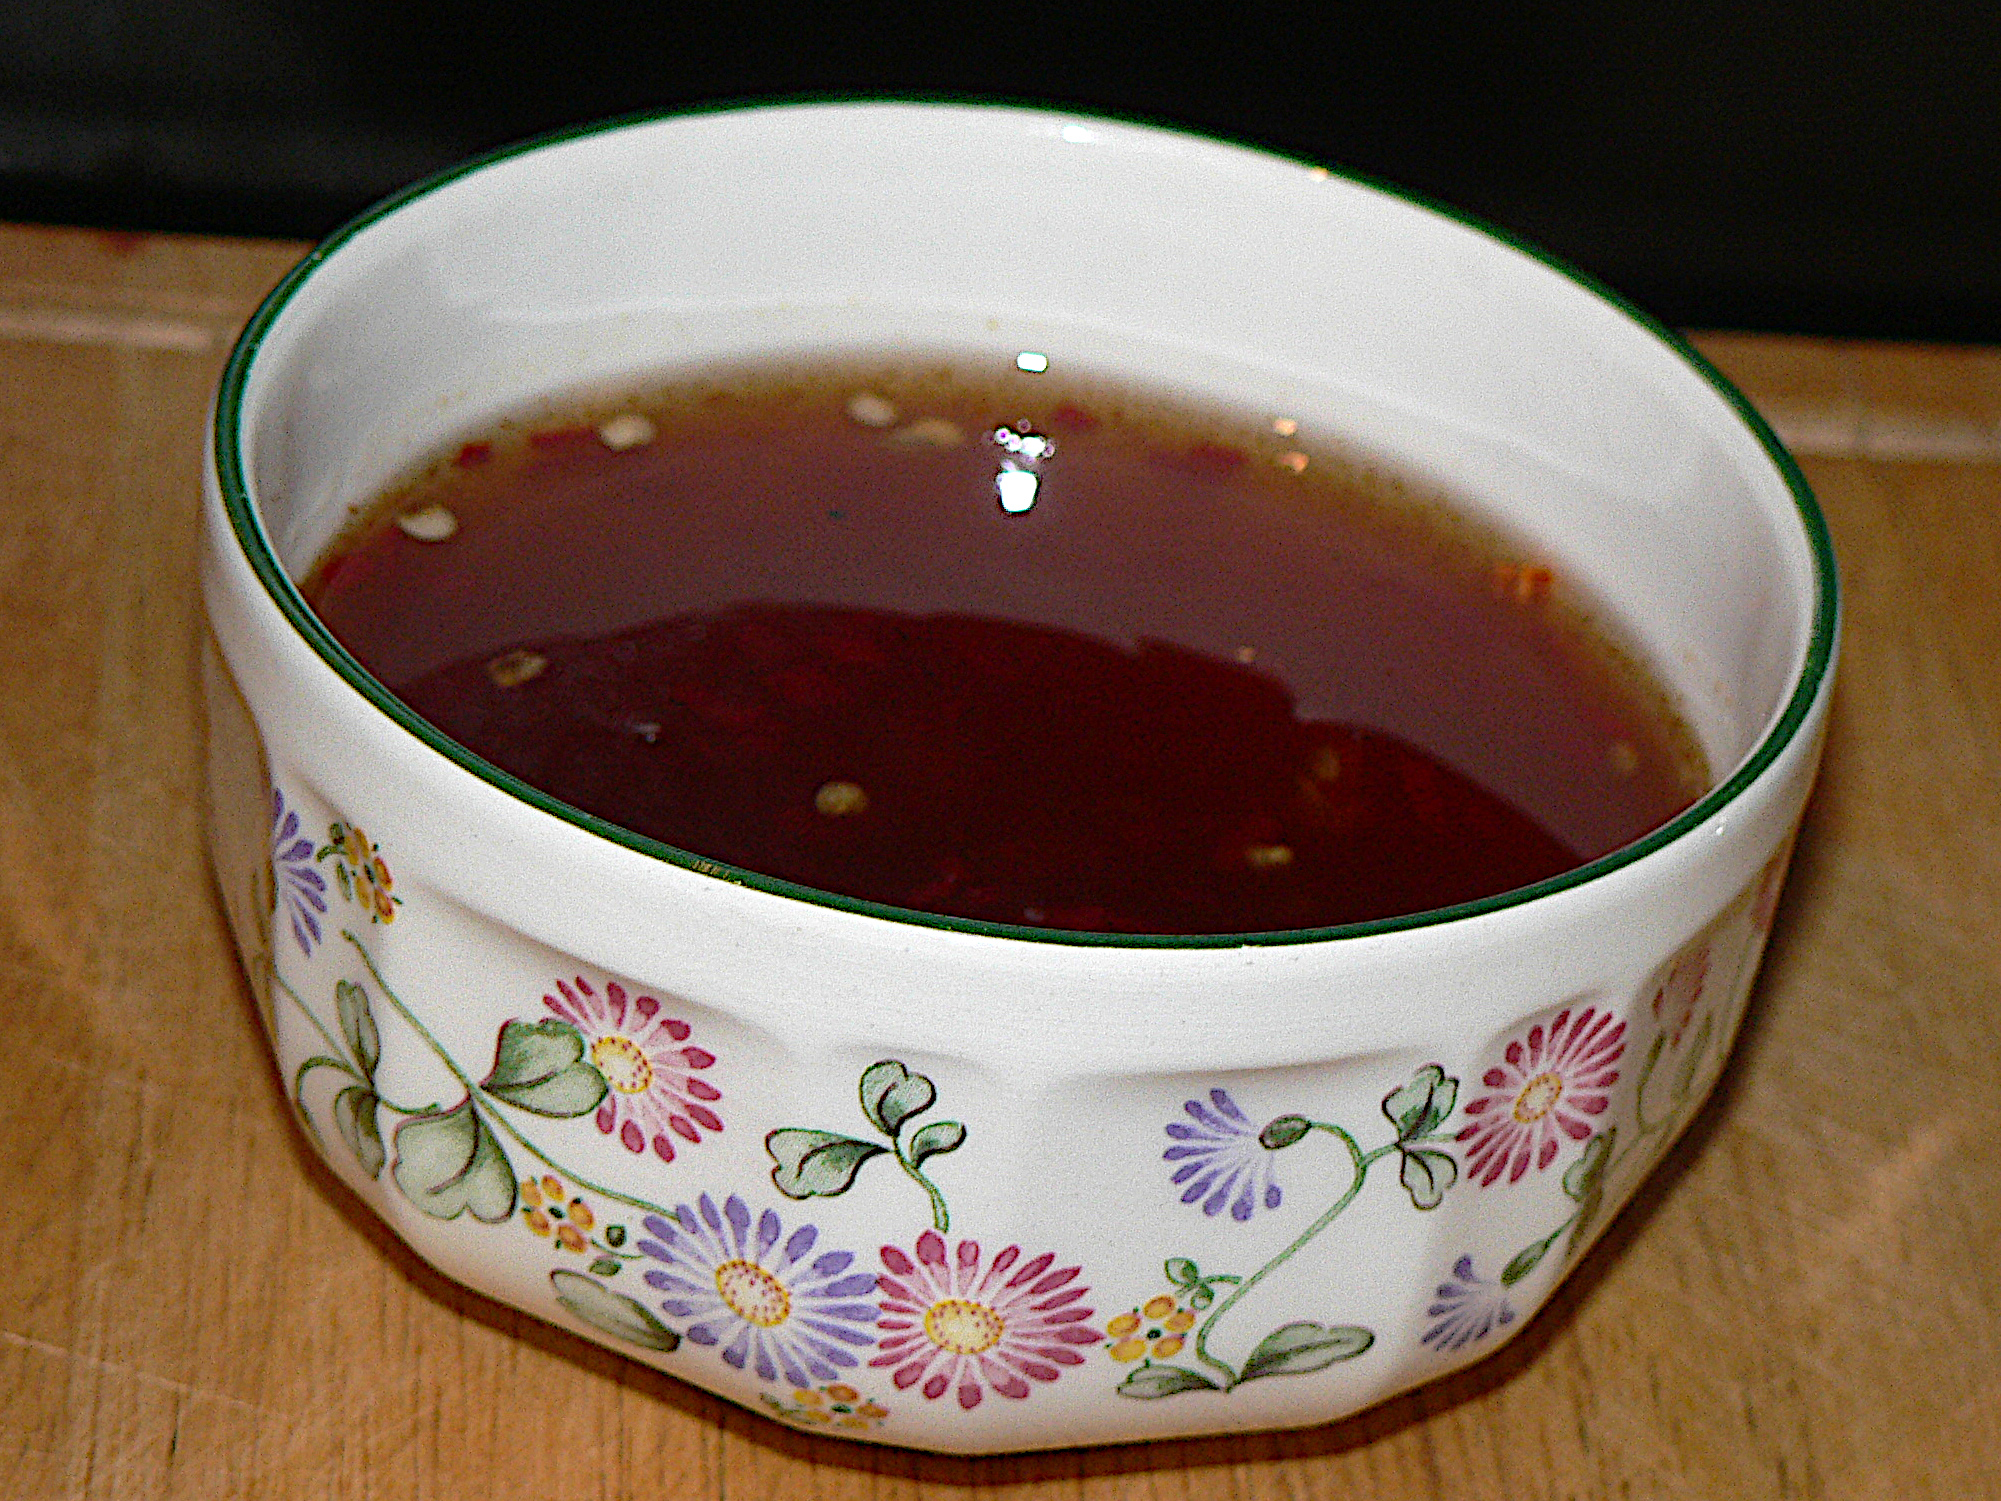
in 2007, I wrote about making a simple sweet chilli dipping sauce:
Apparently, it’s National Chilli Week from 26th November to 3 December 2007.
It’s a bit of a coincidence really, ‘cos on Saturday I experimented with making my own Sweet Chilli Sauce
I put about ½ cup sugar in a pan with ¼ cup water and ¼ cup vinegar. I added a finely chopped chilli and boiled it all for about 5 mins or so. This gave me a light dipping sauce with the chilli floating on top. I wanted the chilli mixed in the sauce and slightly more heat so I thickened it with arrowroot and added, in the absence of another fresh chilli, a bit of chilli powder. I also added some paprika (about ¼ teaspoon) for colour.
The sauce is better than I expected – It’s just like the stuff you buy.