From 2008.
A friend brought me some samosas from a shop on Green Lane Road, Leicester to try and they are superb. Mind you, the tamarind dip which accompanied them about blew my brains out!
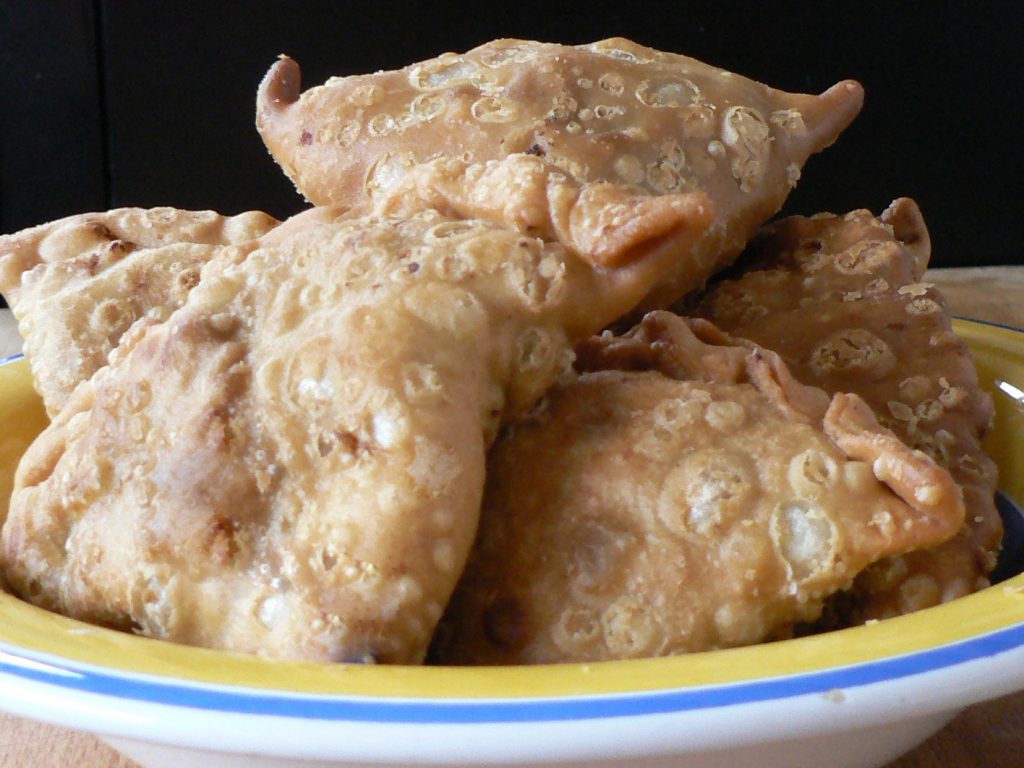
I’ve made my own samosas in the past using a combination of recipes from Madhur Jaffrey and Pat Chapman of the Curry Club. I’ve been pleased with the results and far prefer the homemade pastry to that on many of the bought ones. They take time though as rolling the pastry and making cone shapes and then filling them is a bit fiddly.
It’s best to make the filling well in advance to give it time to go completely cold.
Ingredients
For filling:
1½ lb boiled potatoes
A good handful of frozen peas – cooked
1 small onion finely chopped
1 or 2 (or more) small green chillis finely chopped
1 tablespoon grated ginger
1 heaped teaspoon ground coriander
1 heaped teaspoon ground roasted cumin seeds
1 heaped teaspoon garam masala
chilli powder to taste
1½ teaspoon salt
2 tablespoons lemon juice
For Pastry:
12 oz plain flour
¾ teaspoon salt
5 tablespoons cooking oil
5 tablespoons (approx) water
Filling:
Fry the onion until soft in about 3 tablespoons of cooking oil, chop the peas up a bit and add them along with the rest of the ingredients except the lemon juice. Mash the potatoes up a bit in the pan and mix everything together well – add a touch of water if it seems too dry, but only a couple of tablespoons or so. Cook for about 5 minutes.
Add the lemon juice and adjust the seasoning to taste with salt and/or lemon juice.
Pastry:
Mix flour and salt, rub in the oil and then add enough water and mix to a stiff dough. Knead for about 10 minutes. Mould into a ball and rub with a tiny amount of oil, wrap and put aside in a cool place.
Assembly:
Make a loose paste of about 1 tablespoon of flour with water – this is used to seal the pastry.
Divide the pastry into 8 pieces and roll out each very thinly into a 7 – 8 inch circle. Cut a circle using a 7-inch plate/pie tin as a template and then cut each circle in half.
Form cones from each semi-circle of pastry overlapping the edges by about ½ inch at the top and sealing them well using either a drop of water or a small amount of the paste made earlier.
Fill the cones with about 2½ teaspoons of the filling mix. Seal the tops well using the water/paste and crimp if you want to.
Deep fry slowly at about 170°C turning them frequently until nicely brown. Drain, leave to cool a bit, then enjoy on their own or with a dipping sauce of your choice!