Originally posted in 2008:

Followers of this blog will maybe know of my embarrassment at being ‘famous’ for a recipe that is a clone (albeit superb) of a supermarket soft-bap. They’ll also know that I’ve had difficulty in coming up with a sourdough recipe that fits in with my lifestyle.
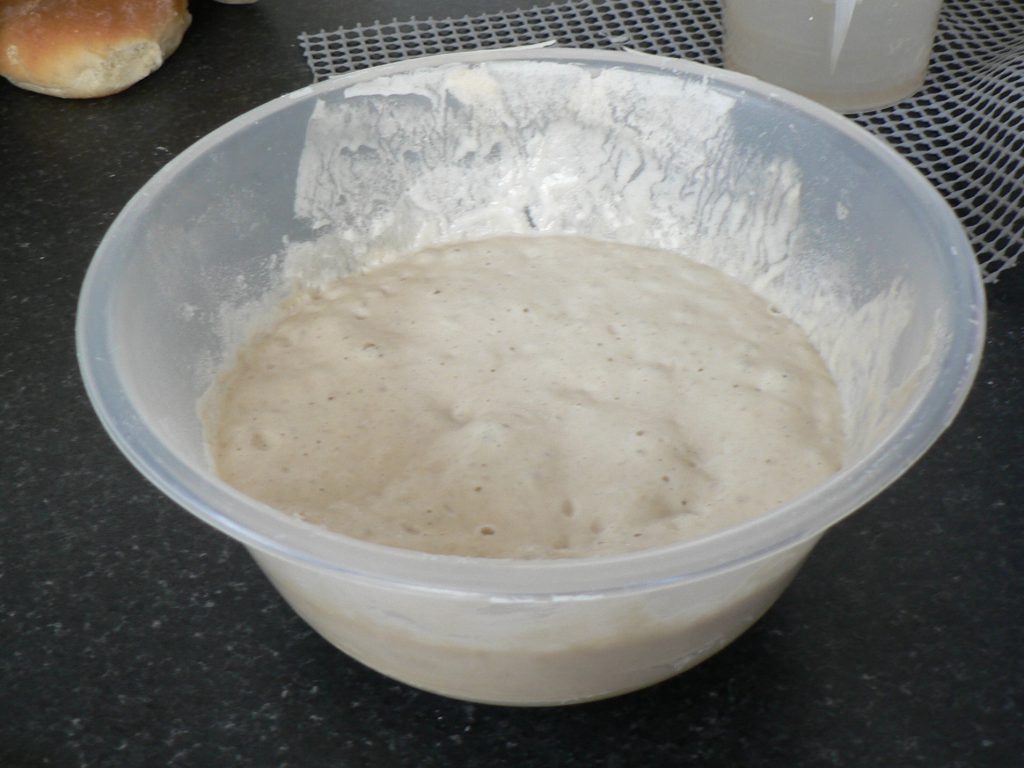
I’ve always felt that I’d make better sourdough bread if I had the ‘proper kit’ for proving it: a couche (proving cloth) or some bannetons (linen-lined wicker baskets), preferably the latter. Now the problem with this is that bannetons ain’t not cheap! Nice cane or wicker ones are anything between £12 and £45. Then low and behold, I don’t often get lucky but I was in a local trade wholesalers just before Christmas and they’d got 4 lined wicker display baskets for about a fiver! Just the job – identical in all but name. Having acquired the kit and then making a sourdough starter for a mate, when I watched last week’s “Fabulous Baker Boys” TV show and they made a sourdough loaf, I thought I’d better bite the bullet and have another go.
I decided to use the recipe featured on the TV programme (Fabulous Baker Boys, Channel 4, episode 4) but had major problems with the dough; theirs was a very wet dough, mine made to the same recipe was so dry that it wouldn’t come together. I ended up adding an extra 75ml of water and it was still on the dry side as sourdoughs go. I’ve asked a fellow blogger more used to these types of bread to have a look at it but I’m naturally loathe to say that the recipe’s wrong given that ‘Fabulous Baker Boy’ Tom Herbert has won ‘Baker Of the Year’ and his sourdough has won ‘Organic Loaf of the Year’ 9 times in the last 10 years! You’ll have to try it and see what you think! I’ll give my adaption of the recipe with a note of the changes.
White Sourdough Bread
300ml Sourdough starter
500gm Strong bread flour
275ml Water (200ml in original)
10gm Salt (a pinch in original)
A note about the salt: Tom’s ‘pinch’ of salt on the TV show was about the same as the 10gm that I’ve used. I based mine on the normal ratios of salt used in this type of bread.
I added all the other ingredients to the flour and then mixed it well in the Kenwood Chef and subsequently by hand. I left it to rise for a couple of hours and then shaped it, floured it all over, and put it into a basket lined with a flour-covered linen. The baker brothers then leave this to rise for 8 – 12 hours. I put mine into the fridge for about 16 hours and then gave it a couple or three hours to come back to temperature the next day. The loaf was then tipped gently onto a baking stone preheated in an oven at 240°C, the top was slashed, and it was baked for about 30 minutes, then cooled.
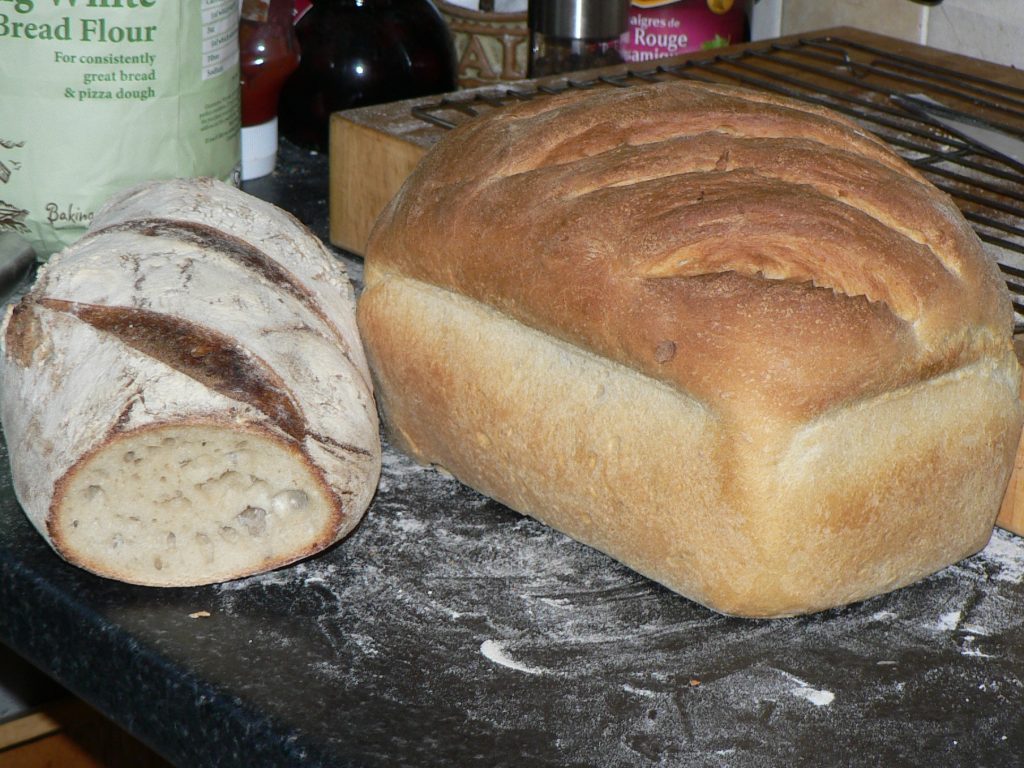
It has the classic thick crisp sourdough crust that demands better teeth than mine and an open textured crumb. It has a well-developed taste without being at all sour. All in all quite a pleasing result.
…and how did I know it would all work out so well? I didn’t, that’s why I baked one of my everyday loaves, just to be on the safe side!