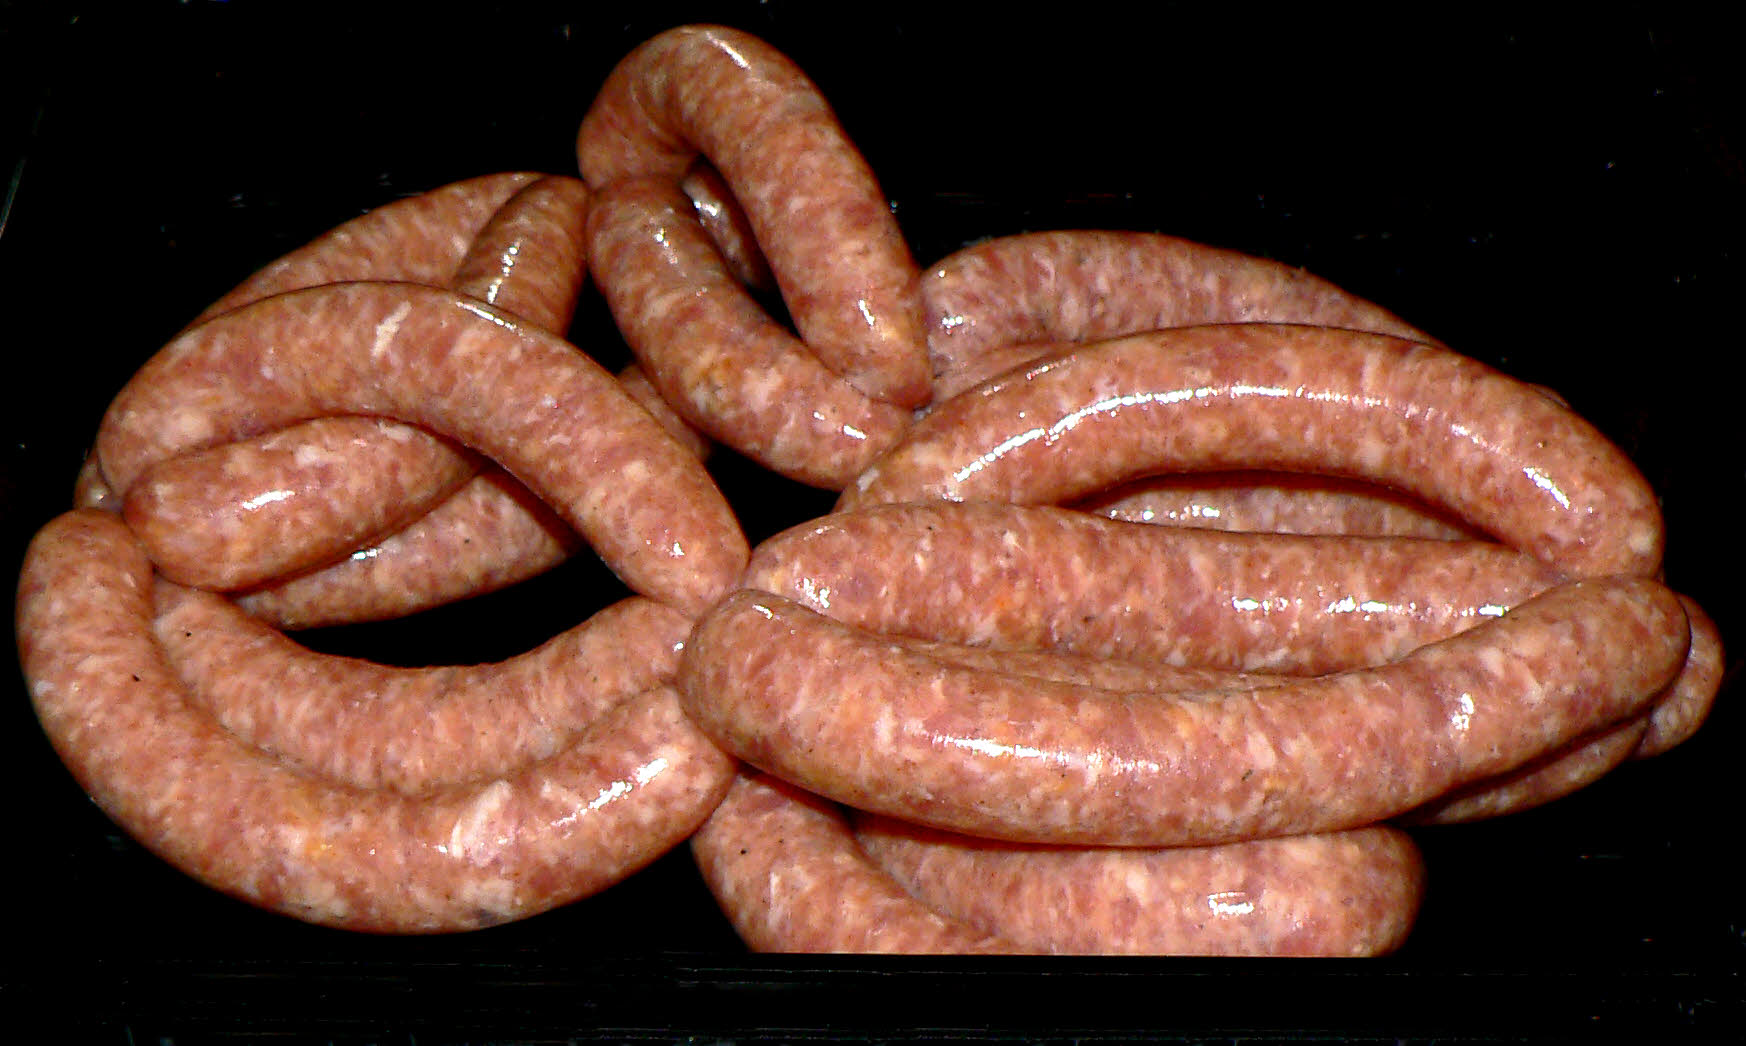
In 2009, I wrote:
There are only so many faggots a man can take (I hope that no one in the US misunderstands this!). So what’s different that you can do with the masses of pork liver from your half pig? Liver Pâté is the obvious one but it’s taken me ages to find a recipe that isn’t just too… …well just too ‘livery’.
This recipe, a slight amendment of the one from ‘Charcuterie’ by Michael Ruhlman and Brian Polcyn, is the best so far. The one I formulated myself was too strong in the liver department, and bitter in taste. In my notes I wrote: “add breadcrumbs/rusk, add milk product”, that’s exactly what this recipe does. Some parts of the method are my additions.
Ingredients
1 lb/450 gms pork liver, cut into large chunks
1 lb/450 gms boneless pork shoulder, diced
1 ounce/25 gms salt
1 tsp/3 gms freshly ground black pepper
2 bay leaves
2 sprigs fresh thyme
2 tbsp/30 ml vegetable oil
¼ cup/50 gms chopped shallots
2 tbsp/30 ml brandy
2 slices white bread, crusts removed and roughly chopped
½ cup/120 ml whole milk
¼ cup/60 ml double cream.
2 large eggs
1 tbsp/6 gms chopped fresh flat-leaf parsley
¼ tsp/0.5 gm ground white pepper
½ tsp/1 gm freshly grated nutmeg
Method
1. Put the meats in separate bowls with half the salt, pepper, thyme and bay in each, mix and marinate separately for 8 hours or overnight.
2. In a frying pan, sear the liver in the oil until brown, add the shallots and cook until translucent, add the brandy, cook off the alcohol, scrape all the bits off the bottom of the pan and put in a bowl to cool in the fridge.
3. Mix the bread, milk, cream and eggs well and set aside.
4. Keeping everything very cold, mince everything except the bay and thyme (which can be thrown away) through the fine plate of your mincer. (watch out as the liver has a tendency to squirt through the mixer plate!).
4. If you want an even finer pâté put the lot in the freezer with your food processor bowl for 20 minutes or so. Then process until very fine. Check the temperature with a thermometer regularly – don’t let it exceed 15°C. (Food processors heat food very quickly so watch out – or omit this step).
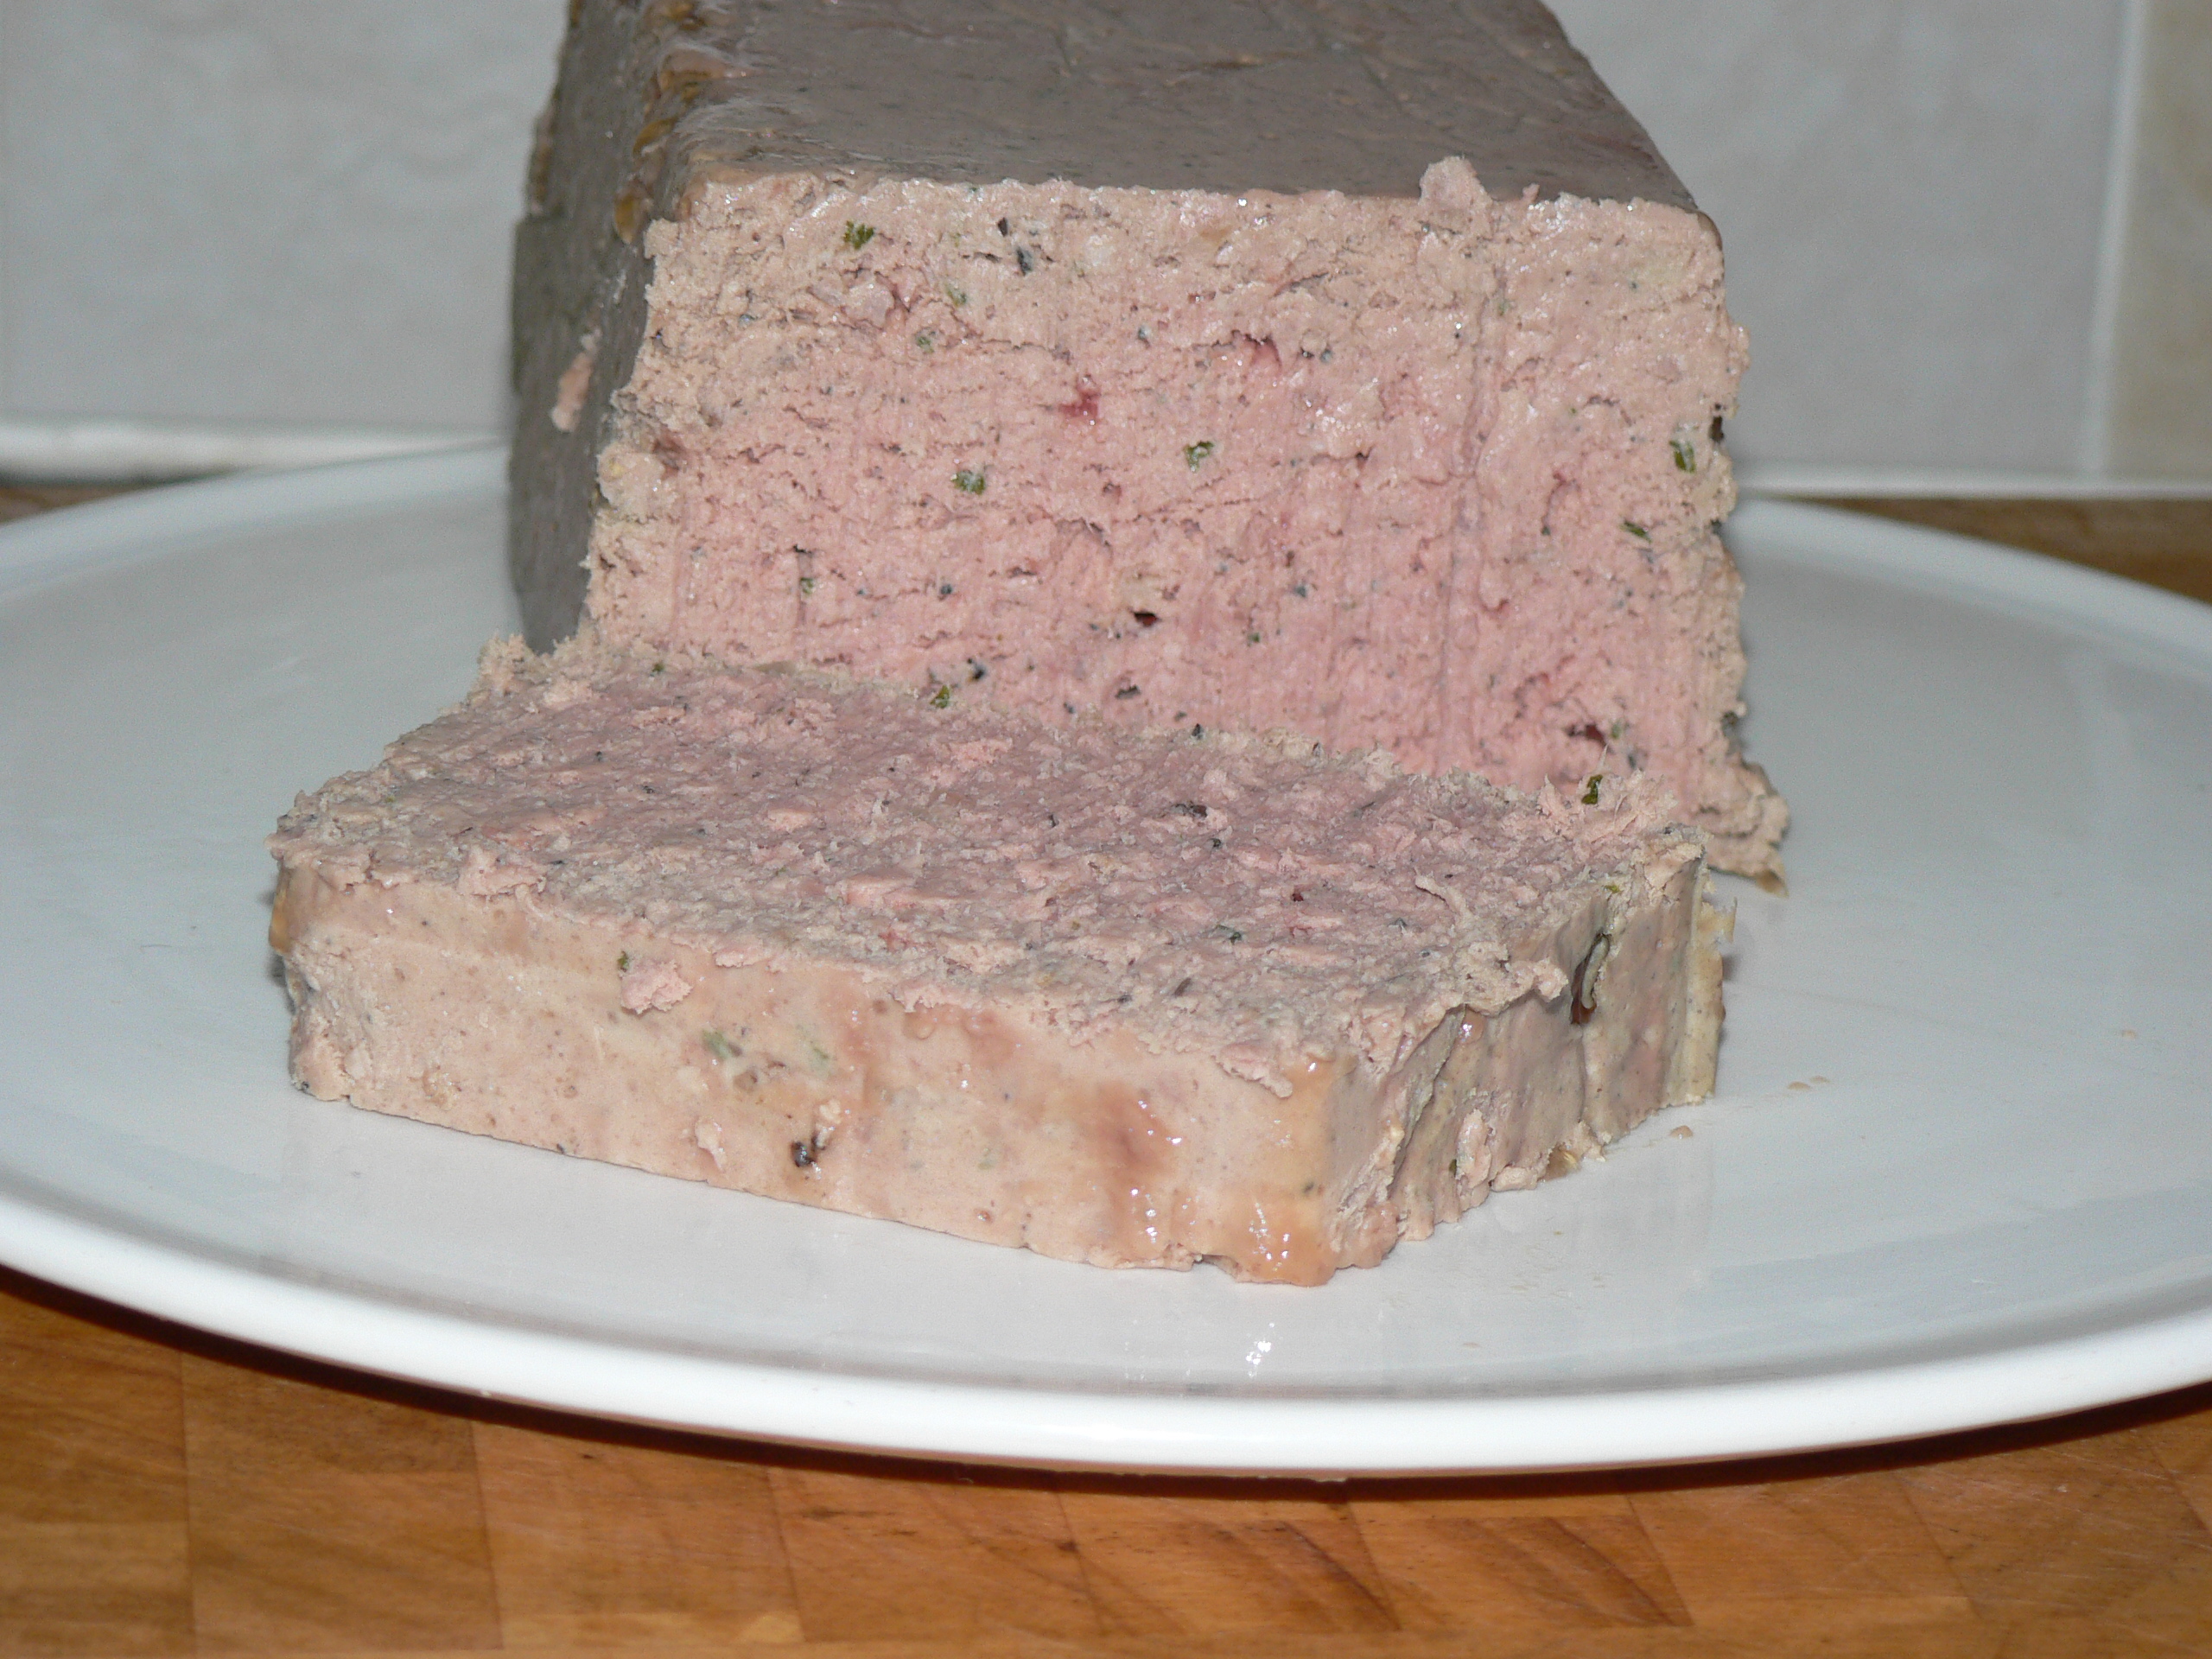
5. Line a mould with cling film, greaseproof paper, or baking parchment and fill it pushing the mix into the corners. Cover the pâté with the chosen lining and then with foil.
6. Put in a bain-marie (roasting tin of hot water) in the oven at 150°C, test with a thermometer after about 1-1½ hours – remove when it’s been above 65°C for 10 minutes if using pork (or when it reaches 72°C for chicken liver).
7. Put weights on top of the pâté and cool.