This sausage formulation was posted on the sausagemaking.org forum. It has had a slight alteration by me. It was developed from a recipe that was originally supplied by the butcher Phil Groth to forum member Parson Snows with some adaption by another forum member, Oddley.
I have since been informed that the only herbs and spices in a ‘true’ Lincolnshire sausage are sage, salt, and pepper. This was supported by The Lincolnshire Sausage Association’s application for EU PGI status. So, this recipe is ‘technically’ not a true Lincolnshire; it is, however, a great recipe and a Lincolnshire sausage in spirit.
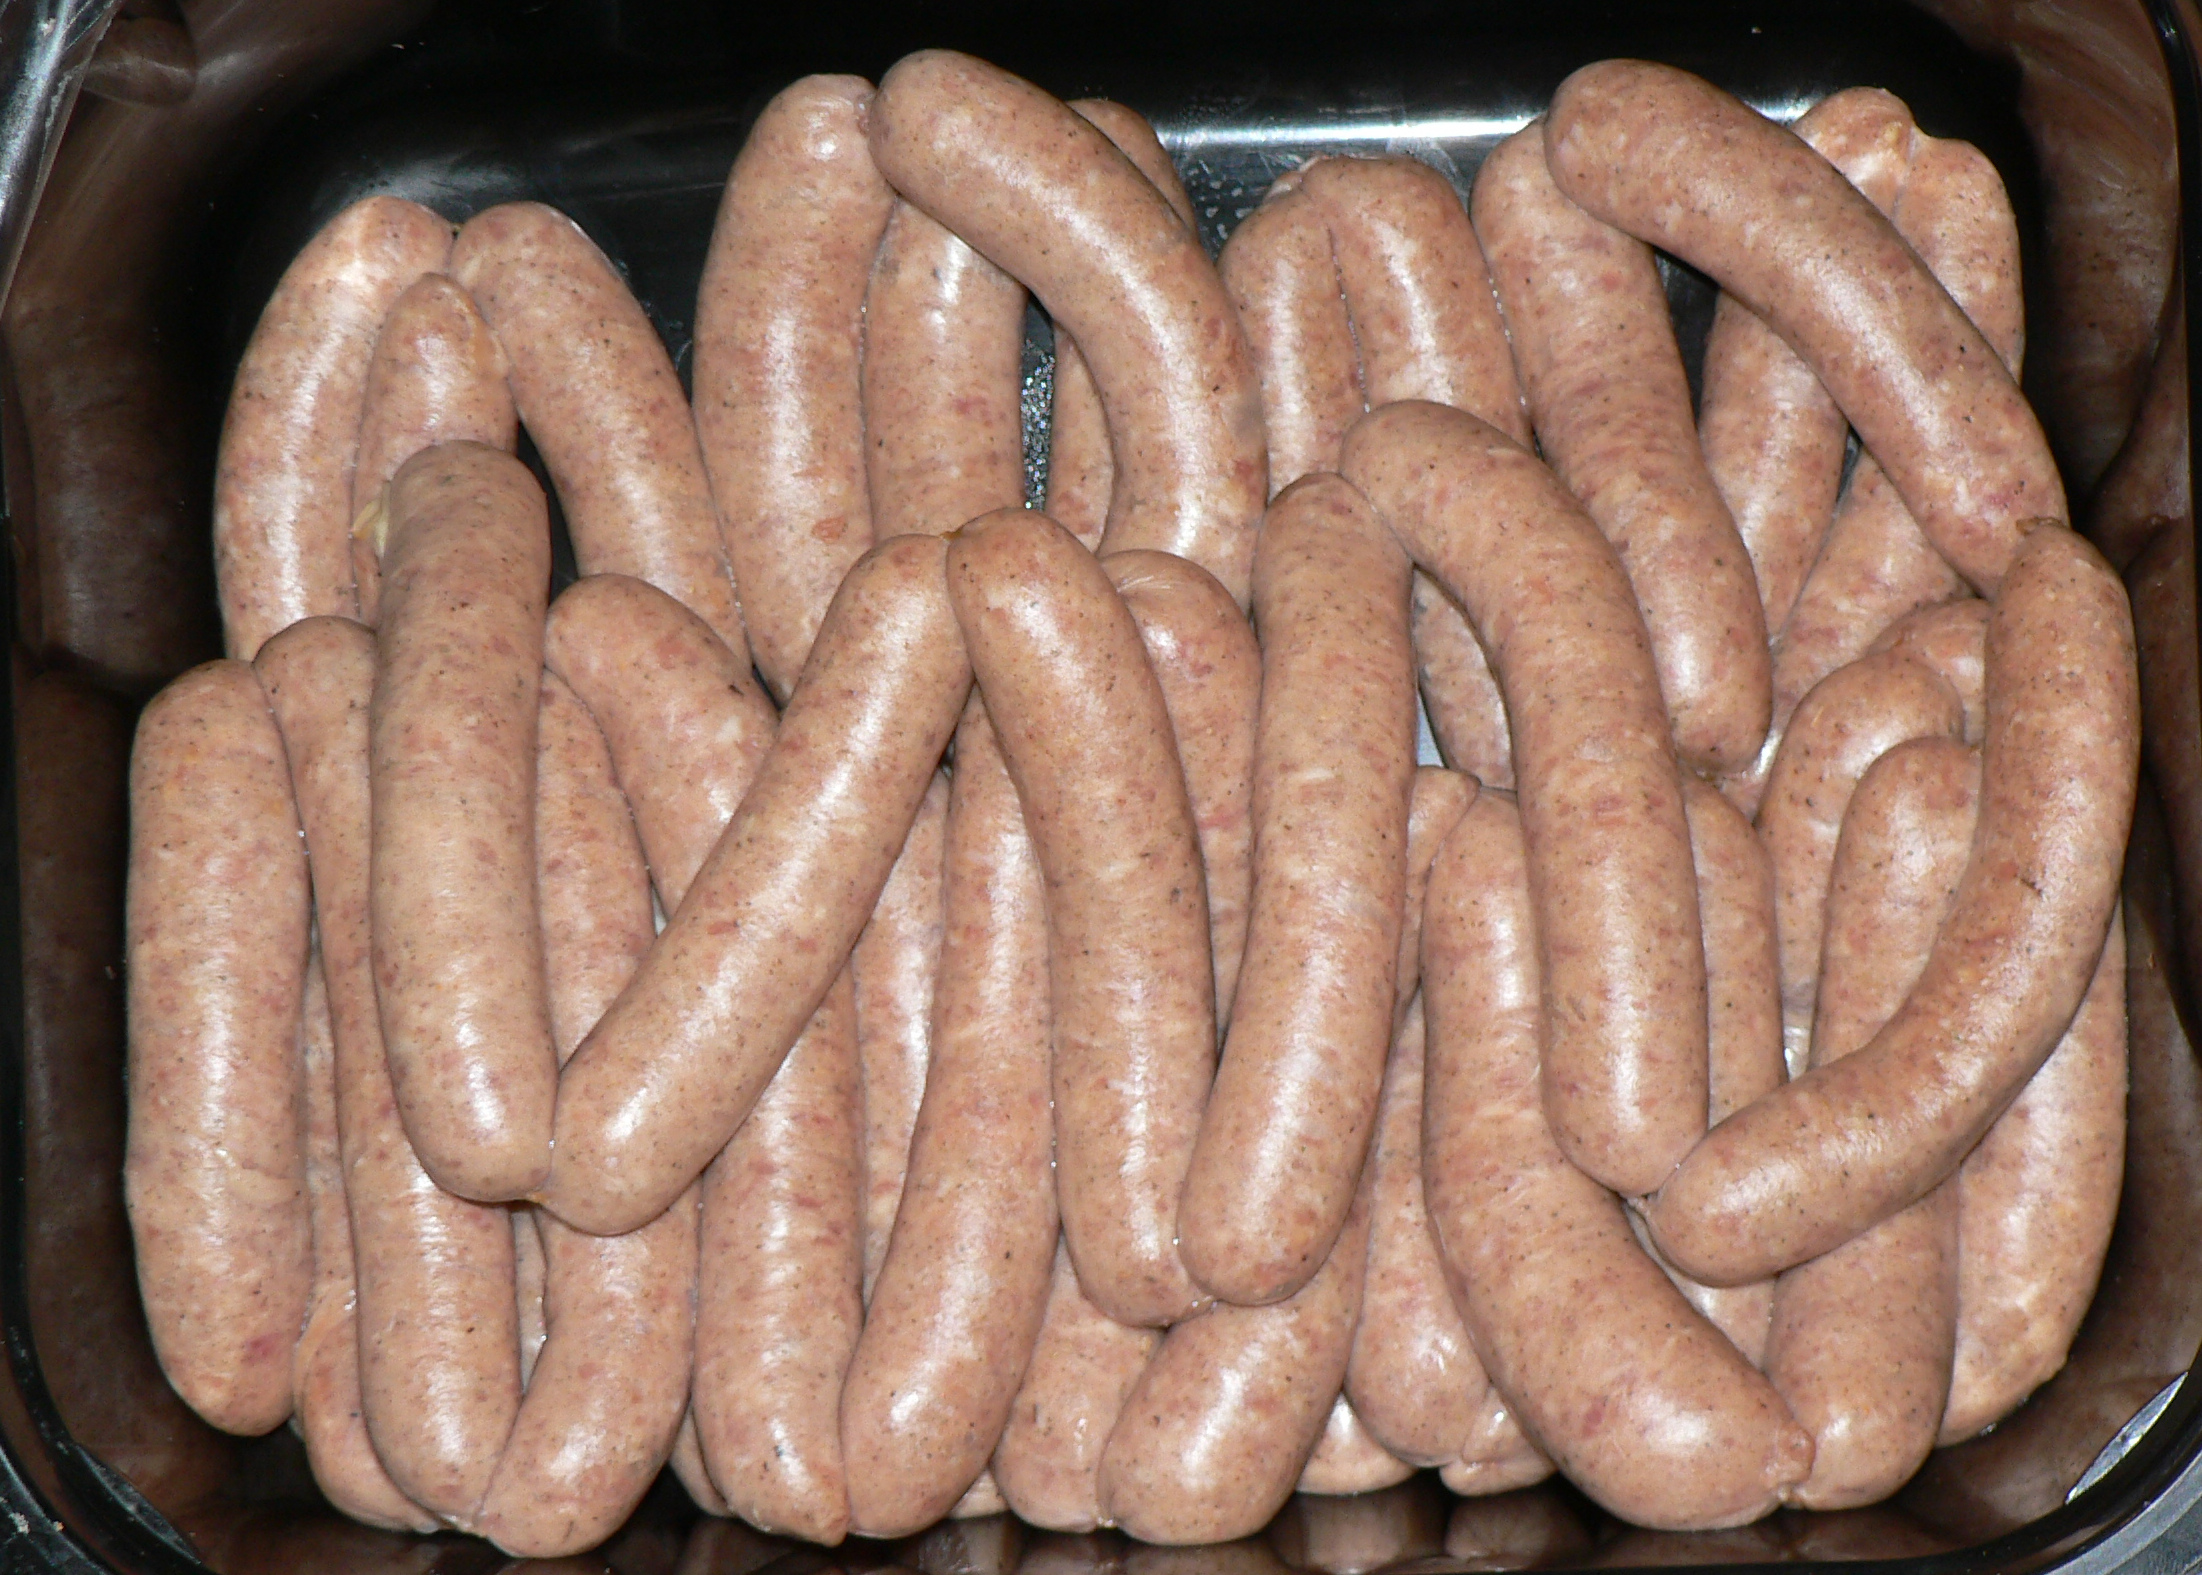
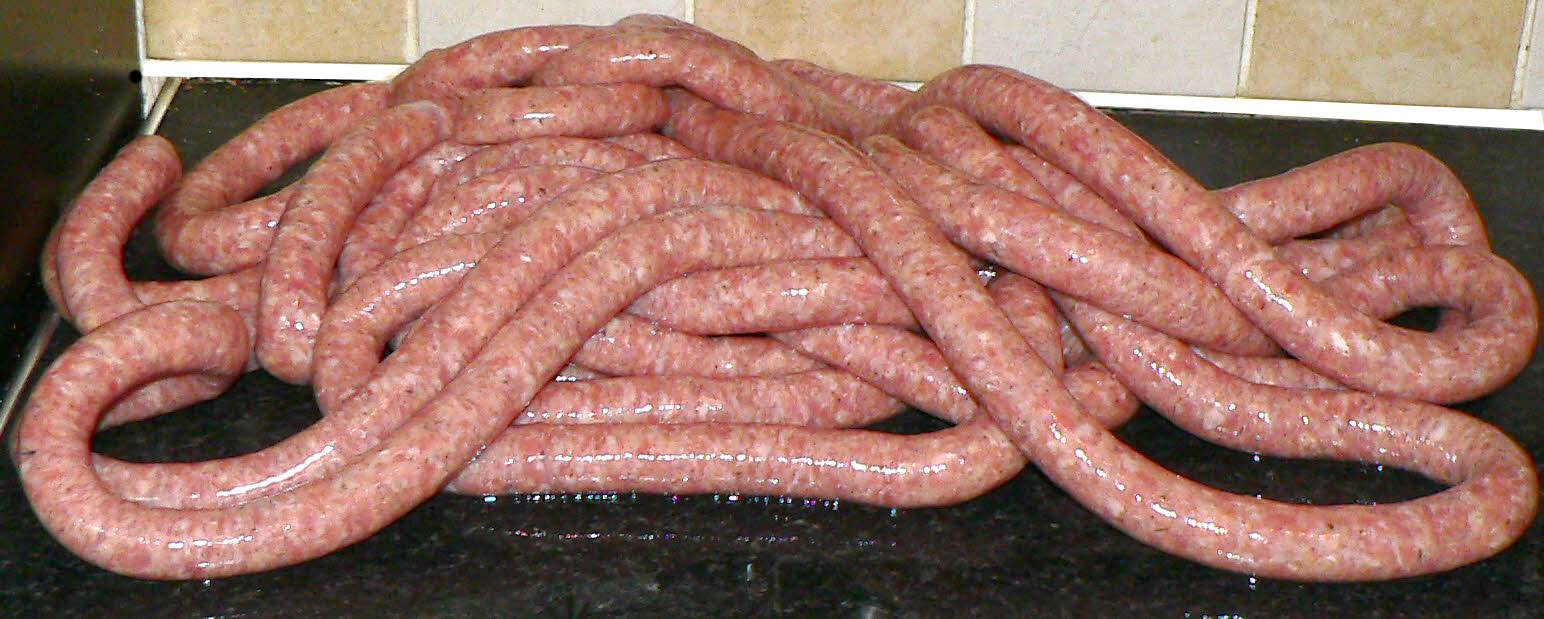
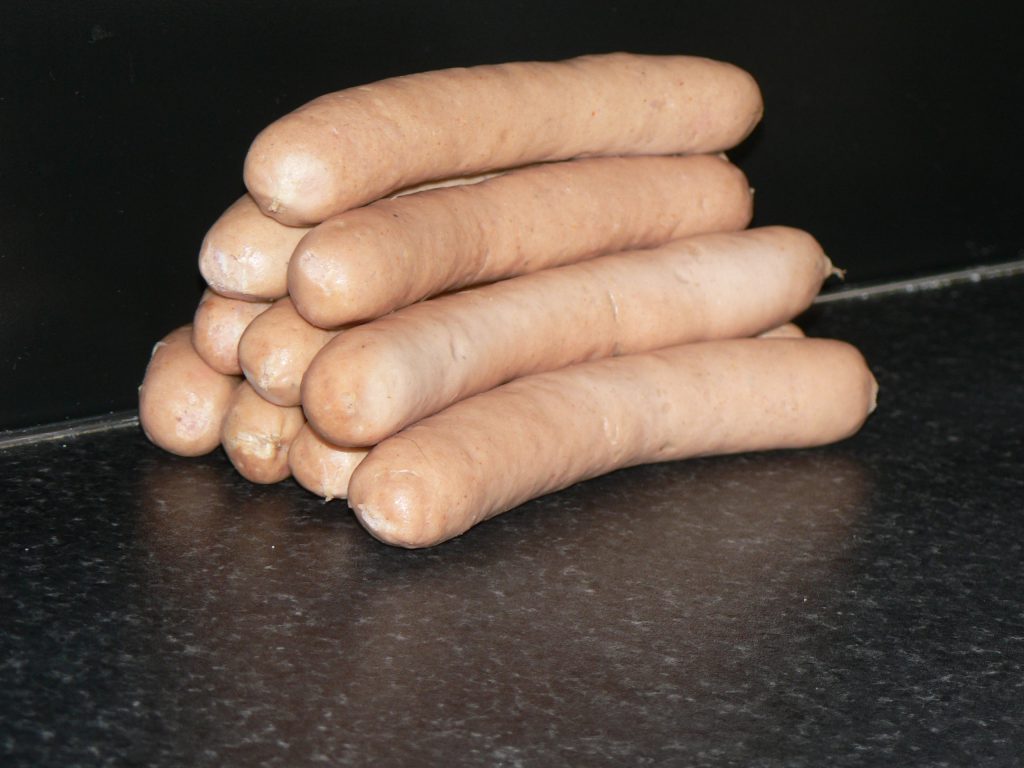
This is the everyday Pork Sausage that I make for Pauline. She prefers thin sausage in sheep’s casings. Sheep’s casings are harder to use than hogs as they split more easily but the extra care needed is worth it as the delicate casings make for great eating.
This sausage is an amended version of the Every Day Pork Sausage that I posted a while ago. The first version is a nice peppery sausage that we all like a lot. The family, however, thinks this one is even better. Less peppery and with a more rounded flavour.
With more and more people air-drying meat having seen programmes like those made by Hugh Fernley Whittingstall (HFW) there seems to be a very blasé attitude sneaking in regarding the production of air-dried sausage and meats.
The, “Well they’ve been doing it for centuries in Italy/Spain etc without sophisticated equipment” brigade, and the, “Well they have them hanging in bars in Italy/Spain, so they must be safe” camp.
What they say may be true but we do not have the same conditions as those people, nor do we have the accumulated knowledge of generations of forebears on our side so we need to be cautious in what we do for reasons that I hope will become clear.
By the way, the meat above the bar abroad will be perfectly safe – once the meat has dried sufficiently bacteria won’t live in it – but only after it’s dried, not during its production.
Anyone wanting to read in detail about the safeguards needed when air drying meat or sausage will find some of the best information available here.
In this summary we can see that we need to protect against the growth of bacteria by:
Using meats with a low bacteria count. We can’t assess this at home but can:
Buy the freshest meat and keep it cold.
keep our tools and work environment clean.
keep the meat as cold as possible when making the product.
Cure the meat properly
Adding the correct amount of salt.
Using sodium nitrite and nitrate which protect against Clostridium botulinum, the most toxic poison known.
Increase the acidity of the meat to discourage bacterial growth – lower the PH
Using a starter, or other methods, to increase acidity and produce beneficial bacteria.
Reduce the amount of water available for bacteria to breed – lower water activity (Aw)
By careful drying at the correct temperature and humidity
Smoking the meat, which also dries it and provides surface protection against bacteria may also be used.
The first of these hurdles I hope is self-explanatory; if you don’t feel that it’s necessary maybe you should take up skydiving instead of sausage-making!
The second has caused much debate recently with scares about the use of nitrite and nitrate but we also know that salt alone will not protect against Clostridium botulinum unless used at unpalatable levels. The scares have mainly been related to meat cooked at high temperatures and given that the amounts of nitrite/nitrate used in modern recipes are lower than those naturally occurring in many vegetables, my opinion is that they should be used. The advantages far outweigh the disadvantages.
Increasing the acidity – lowering the PH of the meat – is generally done by producing lactic bacteria in the meat. In sausage, the addition of a small amount of glucose will assist this process as will the use of a commercially produced lactic bacteria starter. This is usually combined with an incubation/fermentation period at a high temperature and humidity. Ingredients such as wine and vinegar, in some sausages, will assist.
Drying the meat sounds easy but should be done in a specific environment. Many people dry it outside during the cooler parts of the year and this is fine but given the fluctuations in temperature we have been getting in recent years, it’s not always as safe as it once was. What is needed is a temperature of around 12°C – 15°C. We also want a Relative Humidity (RH) of between 60% and 85% (depending on the type of product) and some airflow. We need to achieve an environment where the meat dries steadily: not too fast, not too slow. Drying too fast or dry can lead to a problem with ‘case hardening’ where the outside dries before moisture can escape from the middle leading to a spoiled, or at least, an inferior product
Most British sausage contains some form of binder. Prior to WWII this was usually in the form of breadcrumbs but following the introduction of modern bread baking methods, most producers changed to using rusk. Good breadcrumbs from well-cooked homemade bread can still, of course, be used, or rusk can be bought online from suppliers such as Scobies or Weschenfelder.
Alternatively, you can make your own using this recipe which was posted by Parson Snows on the sausagemaking.org forum:
Rusk 500 g plain/all-purpose flour or bread/strong flour pinch of salt 20g baking powder 250g water (approx)
Method Preheat the oven to 450°F (230°C) Sieve the flour, salt and baking powder together. Mix it to a smooth, pliable dough using only enough of the water to do so. Roll it out lightly to approximately ½” (12 mm) thick then place it on a lightly greased tray. Place the tray into the oven on the middle shelf and bake for 10 minutes at 450°F (230°C). Remove it from the oven and using the tines of a fork/or a large knife, split it in half along its thickness. Place it back on the tray with the opened faces upwards. Return it to the oven. Reduce the heat to 375°F (190°C) and bake it for a further 10 minutes, or more until it seems dry. Remove it from the oven and allow it to cool a little on a wire rack. Whilst it is still warm, grind it in a food processor and then dry it further on trays until really dry. Store it in an airtight container and use it as required.
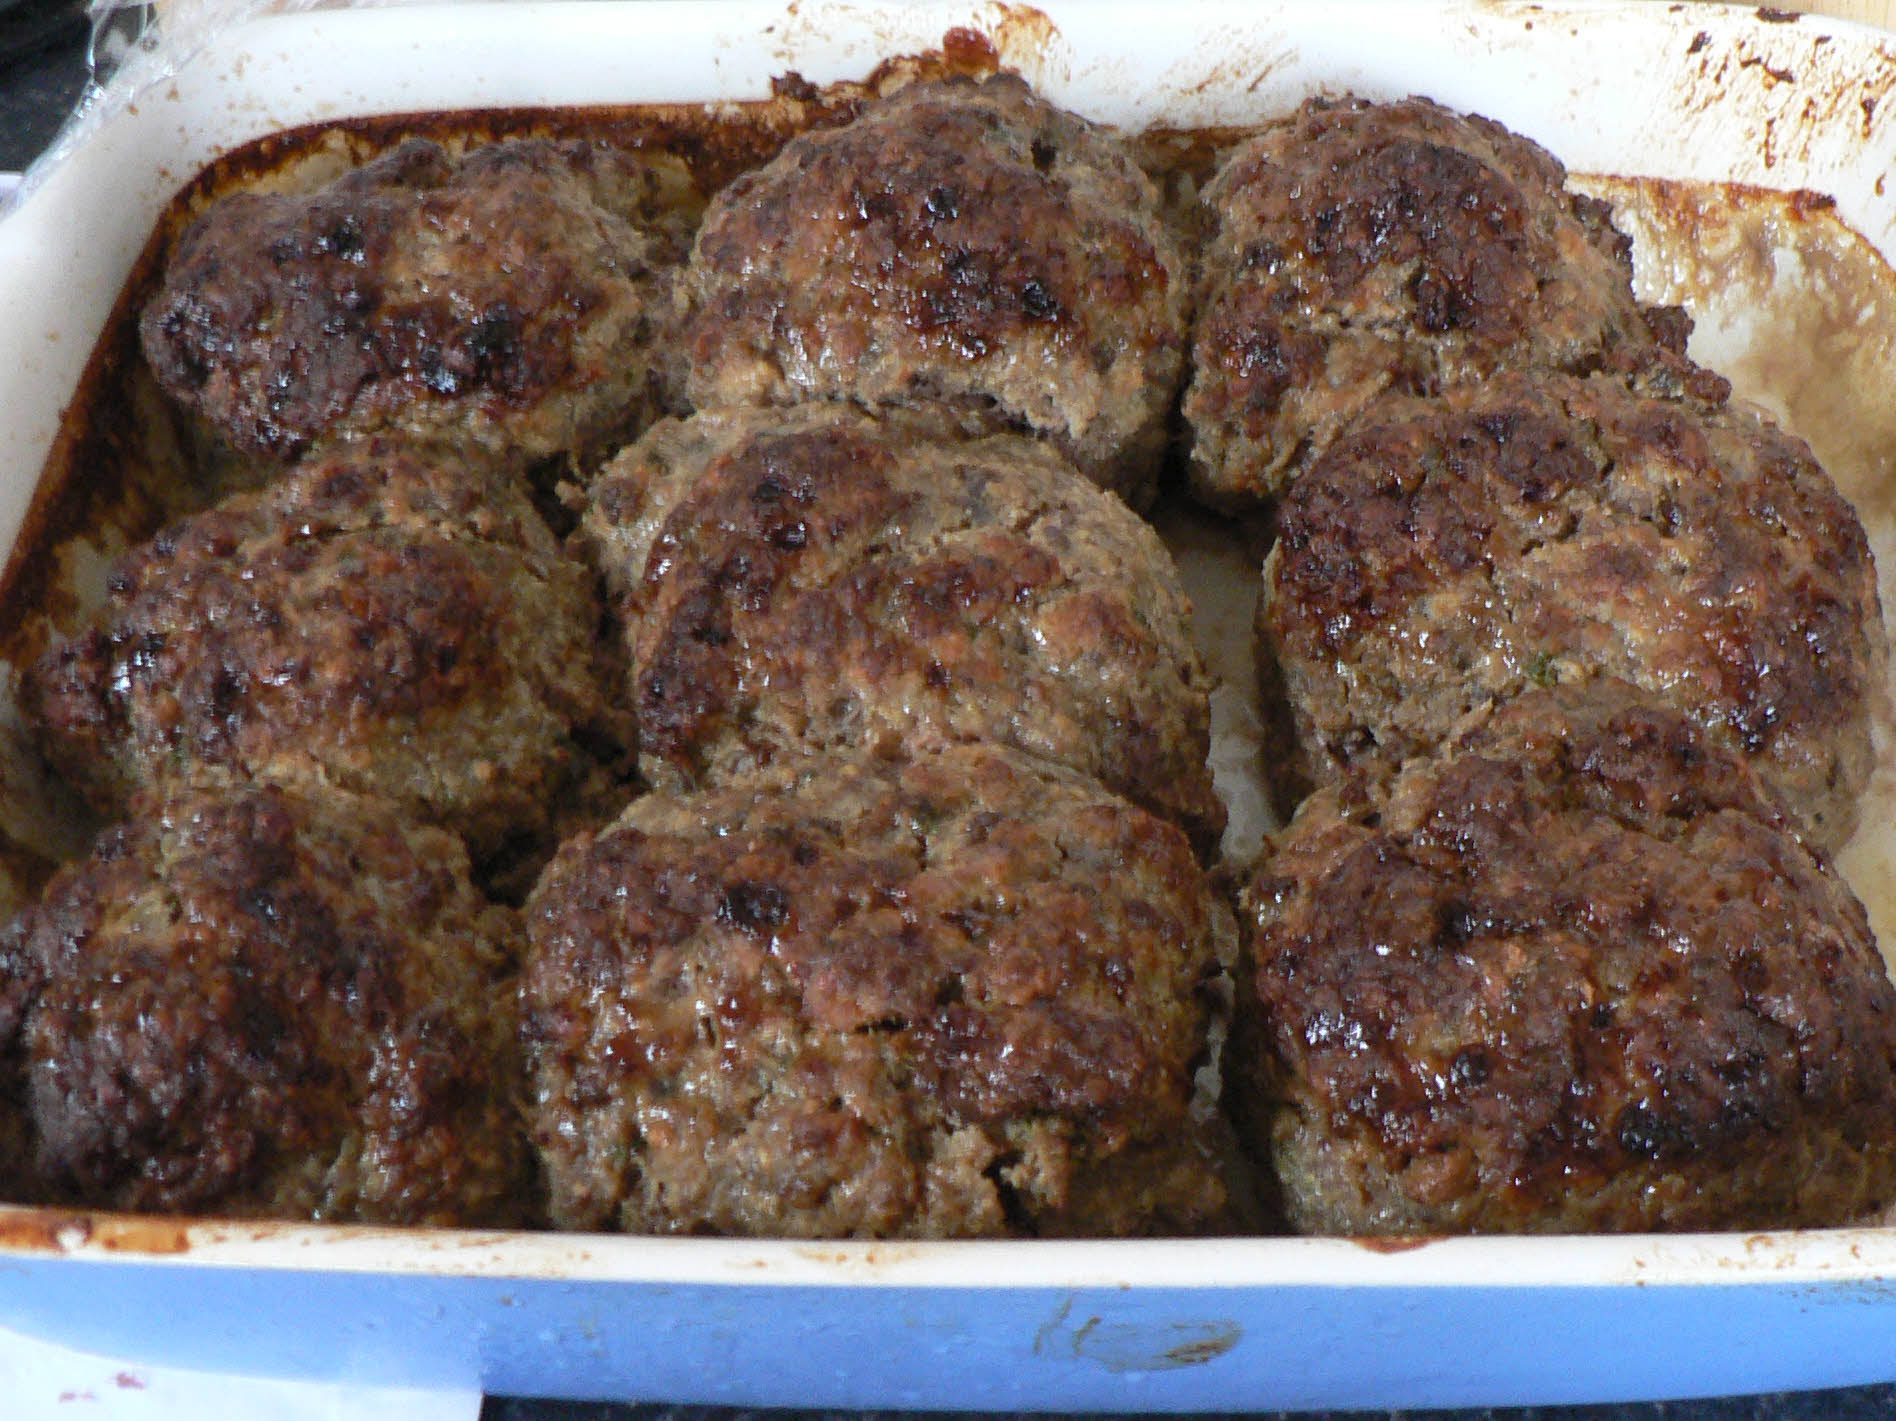
I’ve posted before about making faggots but they were the type you buy in gravy from the shops. This recipe is for the more traditional faggot that you get from a good butcher’s shop. I know most people reheat them and serve them with gravy; I like them sliced up in thick slices and fried.
The recipe is an adaption of one posted by ‘Somerset Lad’ on the River Cottage Forum. In the original, the meat is cooked in liquid before being ground and mixed. Around here, it is normal to mince/grind the meat and shape the faggots before cooking. I also prefer a higher ratio of pork meat to liver than in his recipe.
Other ingredients as a percentage of the total meat weight:
Fresh Breadcrumbs 16.66% Dried Sage 0.24% Parsley 0.16% Onion 10.00% White Pepper 0.28% Black Pepper 0.15% Salt 1.60%
Method
Mince the meats then mix in the dry ingredients. Leave it to stand for about an hour – it will firm up. Shape into the size faggots you want; wet hands make this easier, put them into a dish and fill it to about a third of the way up the faggots with stock or water. Cook in a 190°C oven (170°C fan) for about 40 minutes. Cover with foil if the tops are getting too brown
If using caul, soak it in tepid water for about an hour, then wrap a piece around each faggot before cooking.
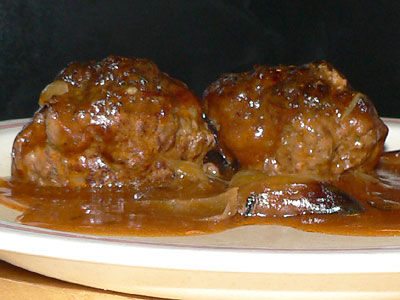
I used this recipe by Antony Worrall Thompson. Unlike many others, it doesn’t boil the meat before mincing. I amended the recipe slightly adding more sage, and parsley instead of chives. The gravy was made using stock, tomato puree, and soy sauce for colour thickened with a roux – my wife cannot have anything with wine in it.
I’m pleased with the end result and Emma, my younger daughter loves them – better than Brains dad! Not that that would be difficult! They are very much the ‘faggot and gravy’ type rather than the firmer faggots many local butchers prepare – I like that type sliced and fried.
Next time I’d add even more sage and cover them in the later stages of cooking, but all in all, I’m very satisfied.
When I wrote about my first attempt to make hot dog sausages I posted the link to the original recipe that I adapted. It’s by forum member Big Guy at the sausagemaking.org forum. I’ve just realised that some of the ingredients he mentions aren’t available in the UK. Here’s my anglicised version.
It’s a while since I’ve done any sausage-making, what with trying to convert a bedroom into a work space and not feeling too good. We really need to make a trip to buy meat but in the meantime, I raided the freezer to make some hot dogs.
“Hot-dogs”, you ask, “Why would you want to make horrible fast food?”. Well, my dear reader, there’s a vast difference between what you buy on a Friday night when the clubs close and a good homemade hot dog in a quality bun; ask any American! They virtually have wars over there as to which style is the best!
I thought I’d have a go at making a ‘burger type’ soft roll, minus the sesame seed ‘cos I’ve run out!
Time has moved on since I first made these rolls in June 2008. The recipe’s changed slightly. Rather than confuse things with a new article, I’ve amended the recipe below.
Ingredients for 9 large or 12 smaller rolls: 600g Strong Bread Flour 120ml Hot Water mixed with: 300ml Cold semi-skimmed milk (you want the total liquid to be about 35 – 37°C when you add it) 1½ teasp Salt 2 tablespoons Cooking Oil 1 sachet Fast Action Dried Yeast (7g)
Method
I make this using a Kenwood food mixer. But it’s easily amended to make it by hand.
I put the flour into the bowl, then chuck the salt in and mix it with a spoon. Then I add the yeast and mix it again. Next, I add the oil and water/milk and stir it with a spoon until the ingredients are roughly mixed together. This is for no other reason than to stop the flour splattering everywhere when I turn the mixer on!
I mix it on a low setting using the dough hook for five minutes then I give it a rest for a few minutes and then mix it again for another 5 minutes. I tip/scrape the dough onto a floured board and bring it together into a ball using as little flour as possible. Into the now empty bowl, I put about 1 teaspoon of oil, put the dough back in, and rub it with the oil. I cover the bowl with a tea towel and forget about it for an hour or so.
A word about the dough: This dough has a ratio of 70% water to flour which is higher than many ‘traditional’ recipes. It makes a lighter textured bread which most people nowadays prefer. You could make it by hand if you want to but be warned, this mix is very sticky! If you do make it by hand, persevere when you knead it and try not to add too much extra flour; just accept that your hands will be a sticky mess and get on with it. Knead it for a good 10 minutes until it is a nice ‘silky’ texture. Don’t try and cheat at this stage or it won’t be any good at all.
Rising the Dough: Recipes generally tell you to leave the dough in a warm place, an airing cupboard, or something similar, for about an hour, until doubled in size. It may take an hour. It may take longer. What I do is judge by the size, not time. Ideally, the temperature should be about 26°C but I generally just put it to one side in the warm kitchen. As long as it’s above 4°C the yeast will still be active; mind you, at that temperature you’d be starving by the time the bread rose and was baked!
When I say “doubled in size”, I mean doubled in size:
Shaping and proving the dough Now for my favourite bit – just shove your fist into the middle of the dough. Yes, I mean it – just thump it in the middle. It’ll collapse making you wonder why you bothered leaving it to rise in the first place! It’s necessary, so just enjoy it!
Tip the whole lot onto a floured surface and work it around for 30 seconds or so, then shape it into a ball. Cut this into 12 even parts for small rolls, or nine for larger rolls for burgers. I flatten each piece out and fold the sides into the middle tensioning the under-side as I work around each piece. When the under-side is smooth and ‘tight’ I turn it over and push it down to make a flat disk with a smooth top.
I then sieve some flour over the top. Alternatively, you could brush it with water and put sesame seeds, poppy seeds, or something similar on top.
I leave the dough now to rise again. When it’s about half risen I put the oven on 180°C (160°C fan) to warm up. Many old recipes give a time for the dough to rise – say 20 minutes – what nonsense! Sometimes it’s fairly quick, other times it may be an hour or so. What we want is for it to nearly reach its full size – the bigger the better – as long as it doesn’t collapse! The pictured dough is of the smaller rolls after they’ve risen:
Cooking the bread For a soft roll, I bake the bread at 180°C in a ‘non-fan’ oven; it works far better than a fan oven for soft rolls. I then cook them for 20 minutes and, if when I tap the bottom of the loaf it sounds hollow, it’s cooked. If you only have a fan oven, it’s hard to keep them really soft; it helps to cook them at a lower temperature, maybe 170°C or even 160°C, and to wrap them in a clean tea towel immediately after cooking.
These rolls are very light, have good keeping qualities, and freeze well.
For a crustier roll, have the oven at 220°C (200°C fan) and put a metal tray into the oven as it warms up. Immediately after you’ve put the bread rolls in to cook, put some water, say 150ml, onto the very hot tray to create a steamy atmosphere. Remove the water tray after 10 minutes.
The crustier rolls are best eaten on the day of cooking.